Advanced Event Photography Tips You've Never Heard


Below are 5 of my most advanced event photography tips. I have developed these tips and methods for over 10 years, shooting events in Los Angeles. I hope they help you on your own journey as an event photographer.


#1 Pre-select your focal point for a faster shooting experience at events.

Use your focus point controller to pre-select where your point of focus will be prior to the viewfinder reaching your eye. Keep in mind that this will require you to first develop the ability to first pre-visualize your composition prior to looking through your viewfinder. With practice this becomes intuitive. I learned this tips through repetition, after shooting hundreds of events in Los Angeles. With time, you will find yourself automatically adjusting your focus point while lifting the camera to your eye.

Although Prime lenses can be seen as less versatile for event photography, their set field of view actually makes pre-visualizing your composition easier. In time, prime lenses can be used nearly as effectively as zoom lenses. With practice you will intuitively know how many steps forward or backward you need to take in order to match the pre-visualized image in your head, all while having their own unique benefits such as reduced weight, faster apertures, and of course that guaranteed field of view already discussed.

Update:

New technology seen in mirrorless cameras may outdate this method of shooting. As face and eye detect technology improve, setting your focus point may in part become a thing of the past.


#2 Shoot with both eyes for maximum event photography coverage.


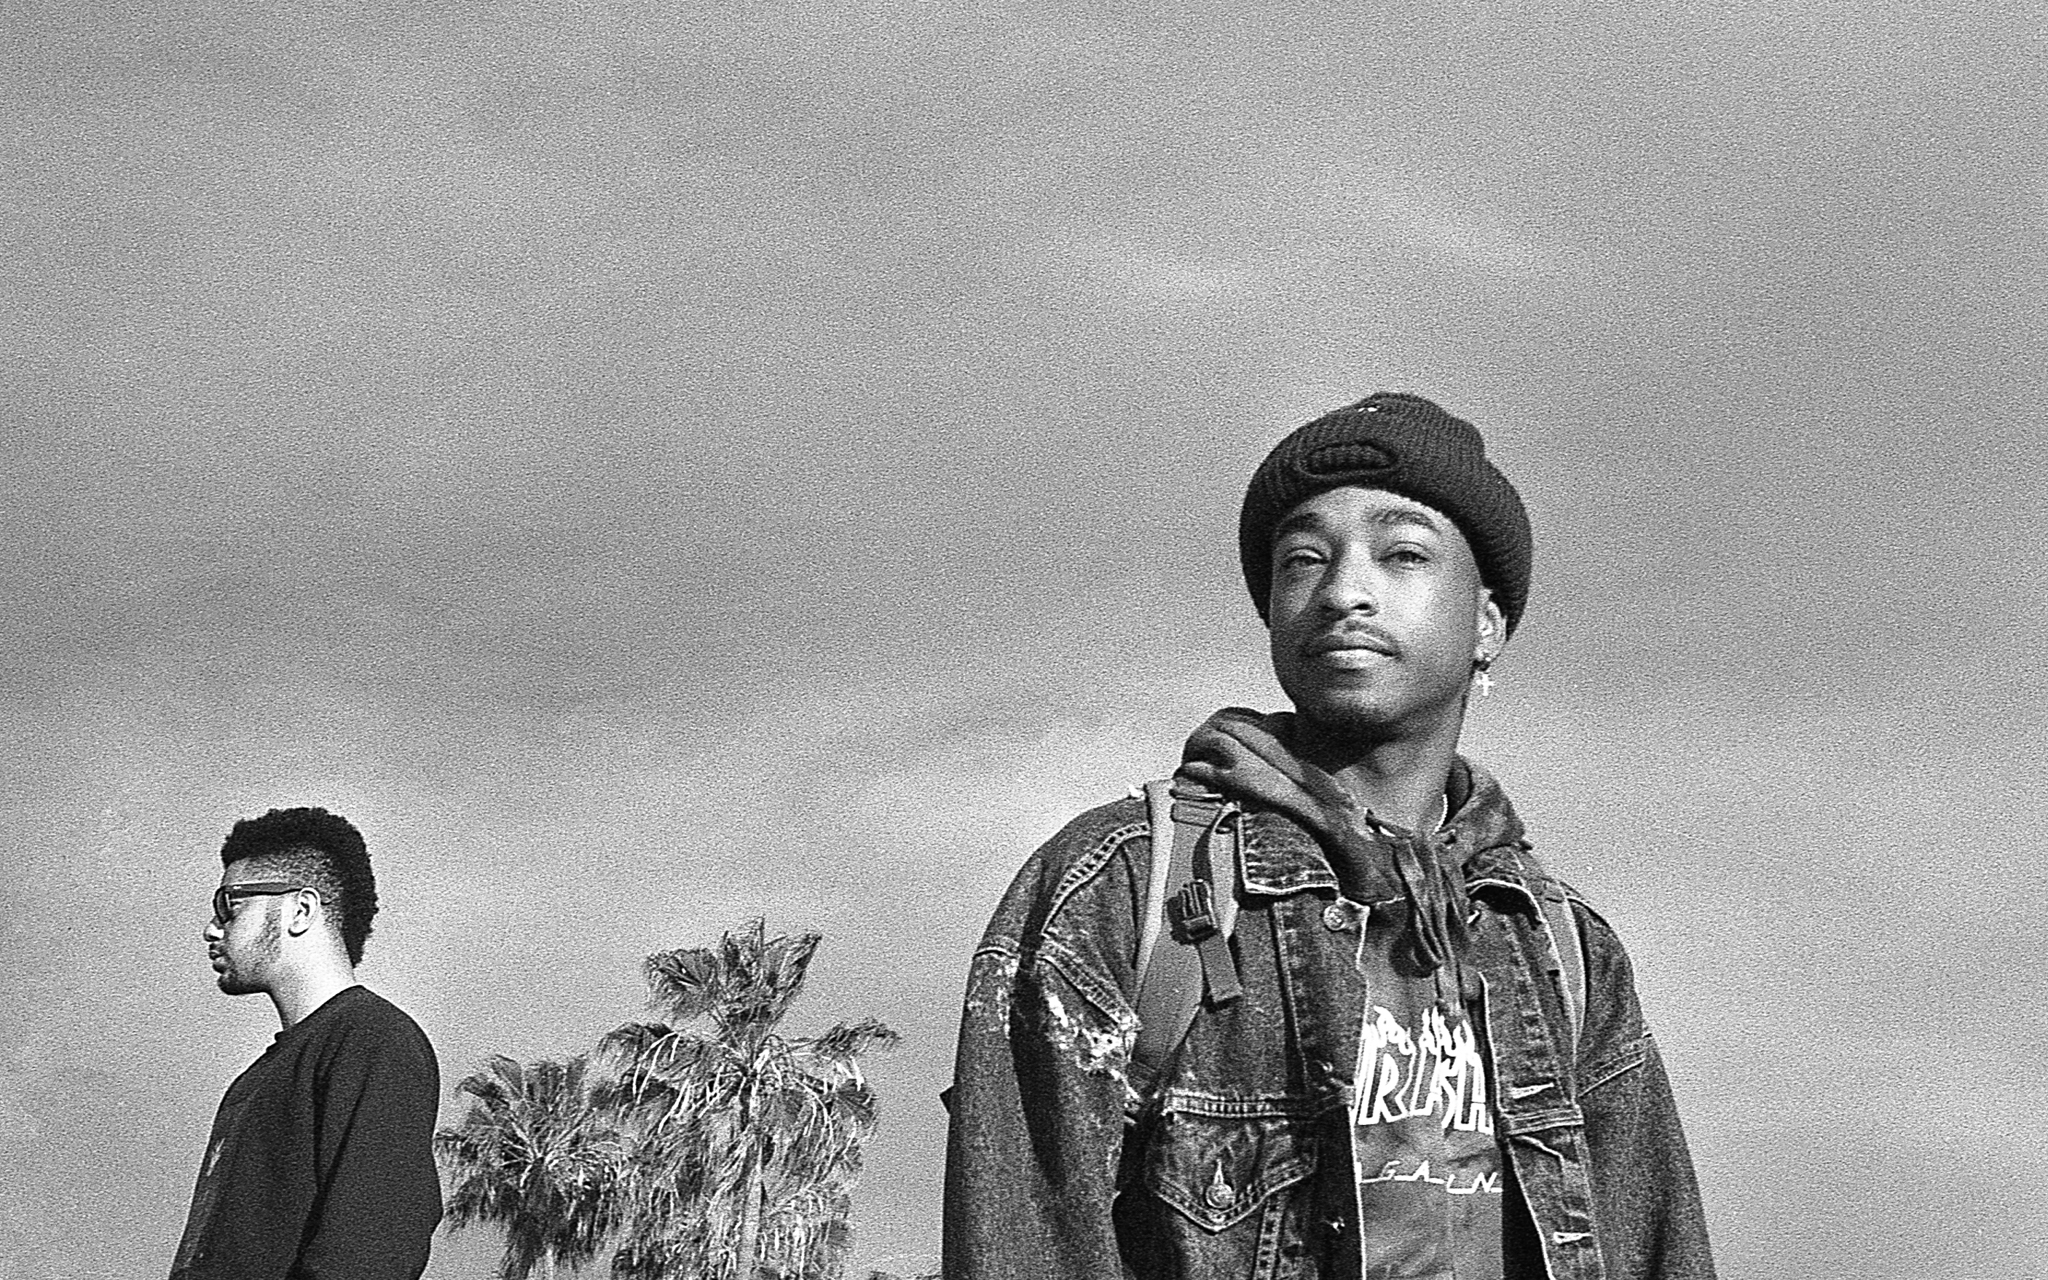
While one eye frames your shot, use your other eye to monitor the action.
Doing so improves your timing as you’re no longer viewing what’s in front of you through the tunnel of your viewfinder. Additionally you are able to monitor the space for other potential images. This will help maximize your coverage of an event. Remember, when it comes to event photography, your goal should always be to provide more coverage, not more images for the sake of more images.

Update:

Again, this is another way of shooting that may be upended by mirrorless cameras: at this time my experience with shooting on a mirrorless camera at events is not thorough enough to make a conclusion, but I am personally concerned with how seeing reality with one eye and a digital screen with the other may make for a disjointed shooting experience.


#3 Read the room to capture more moments.


Follow the energy. This is not hocus-pocus, woo woo stuff. Do not overthink it. Follow the energy for more interesting candids.

You will find that when you are truly present: when all your senses are in tune with the chorus of noise, movement, and things we are never even conscious of, that you will find yourself moving toward where the action at an event really is… sometimes seemingly before it even happens.

A note:

When photographing an event, following the energy, and focussing on the moments, you will find that you may naturally end up with more photographs of some people than others. This is normal; some people are just the life of the party. However, it is a good idea to balance this out by trying to “even out” your coverage by doing a once over of a location here and there and just try to get a shot of every individual you may have missed.

#4 Predict smiles

Have you learned to follow the energy? Good. Now it's time to predict a smile. Following the energy will get you where you need to go, but as an event photographer, you need to be able to capture the emotional highs and defining moments of an event. One way I do this is by predicting smiles.


When someone is about to smile, you can first see it in their eyes. At events, people are usually too busy talking to smile, but in between sentences they will smile to connect with the person they are talking to. This is the moment I am waiting for and I know it’s coming by watching my subjects eyes.


#5 Time Your shot ahead of the peak of action.

Your motor skills has a delay. Your camera has a delay from the moment you press the shutter button and the moment it makes an image, albeit small. Experiment with timing your image just before the peak of action to counteract that delay. I have found that with practice that I only need one shot to do this. Shooting in continuous can in theory guarantee you capture a moment, but I have found it has made me less in tune with moment at hand and when I stay focussed and time my shot perfectly, I am able to guarantee I capture the moment better than holding onto my shutter and hoping for the best. Also, I really don’t like the process of editing down my event photography coverage when I have overshot. It is more time consuming and delivering files quickly has become increasingly important when it comes to event photography.

My event photography tips conclusion

Connecting the dots, you can see how all of these tips are used in unison:

By staying present, reading the room, and following the energy, I am able to gravitate toward areas of an event in which lots of action is going to happen. By reading people’s eyes, I am able to predict who is about to smile and pre visualize my shot as I move into position, all while pre selecting my autofocus point before the camera hits my eye. By shooting with two eyes open, I am able to time my shot and already know where my next shot is going to be… then I repeat.

I spend a lot of time thinking about how I can improve my event photography. It is important to me to always stay engaged with my craft and never settle. This has allowed me to constantly improve at event photography and I hope my tips help you on your own journey.

UPDATE:

Since writing this blog post, I made a new video talking about how I use my tips together, in concert as an event photographer. Check the video out below.


What is Composition?

This article discusses composition in photography. I personally use all of the “rules” of photography in my event photography as well as my personal work. It is also the first thing I discuss with new students.

What is Composition in Photography?

Simply put, composition is the arrangement of structural elements in a photograph.

Many decisions go into taking a photograph.

When I was studying photography the first thing I learned was the many “rules” of composition. However, its best to think of them as elements of design you have at your disposal, not as strict rules to follow. Here are a few to get you started.

RULE OF THIRDS

Imagine that your image is divided into 9 equal segments by 2 vertical and 2 horizontal lines making a sort of tic-tac-toe grid. The rule of thirds states that you should position the most important elements where these lines intersect, or more simply put: one third of the way into your frame. Some cameras even have the option to overlay rule of thirds guidelines in the viewfinder or lcd screen.

Why rule of thirds? First, we are used to seeing subjects placed in the middle of the screen. By placing your subject somewhere else, you can instantly add visual interest to your photograph. Second it gives us an opportunity to use that space in interesting ways...

rule of thirds


BALANCING ELEMENTS

Try evening out a scene using the rule of thirds  by adding something of similar visual “weight” (how much the eye is drawn toward an area).  You can add in less important subject matter, or draw the eye toward your main subject using leading lines...

balancing elements

LEADING LINES

When we look at a photo our eye is naturally drawn along lines. By thinking about how you place lines in your composition, you can affect the way we view the image, pulling us into the picture, towards the subject, or on a journey through the scene. There are many different types of lines - straight, diagonal, curved, zigzag, radial etc - and each can be used to enhance our photo's composition.

examples of leading lines:

  • A winding river

  • Fences

  • Wood planks

  • Column

DIRECTION

Every image has direction- the natural journey your eye travels through a photograph. Use that direction to tell a story. Use a variety of elements of composition to create direction in your photograph.

SYMMETRY AND PATTERNS

We are surrounded by symmetry and patterns, both natural and man-made. Don’t be afraid to get up close to nature to look for those patterns and really pay attention to how patterns, symmetry, and geometric shapes are used in man made structures.

symmetry and patterns


FRAMING (sub framing)

Use available objects to surround your subject, drawing the eye toward it, essentially creating a vignette. 

Example uses of framing:

  • Placing your subject in the inside of a tunnel

  • Shooting through a hole

  • Shooting through a window

  • Shooting through a fence

  • Shooting through foliage

And now a big list of things to consider when making a photograph...

  • How close to my subject do I want to be?

  • Is my subject’s surroundings important?

  • How do I want to portray my subject?

  • If my subject is a person, do I want them looking at the camera? Why or why not?

  • Is there an emotion or feeling I want to capture?

  • Is there a story I want to tell with this photograph?

  • What inspired me to take this photo?

  • How does the eye travel through this photograph?

  • How many different ways can I shoot this photograph?

  • How is the photograph I am taking different than what anyone else would take?

  • Am I paying attention to my background as much as I am to my subject?


I hope this helps get you started on improving your photography. Feel free to comment below with your own tips or questions!

How to Improve Your Photography with Five Tips.

The following photography tips are based on experience I have accumulated from over 10 years of teaching photography and shooting as a professional event photographer in Los Angeles.

1. Always be Working on SOMETHING Whether You’re a Professional Photographer or an Amateur.

This can be a technique, a style, it can be shooting in low light. IT DOES NOT MATTER WHAT IT IS; Just always be working on something. Don't get complacent. If you’re going into a job or personal project or just doing some travel photography, go into it asking yourself: “WHAT DO I WANT TO WORK ON TODAY?” I do this in both my professional work photographing events and in my personal work as well. Recently, I have been challenging myself to shooting more film portraits while professionally photographing events. Living in Los Angeles has afforded me the opportunity to photograph both celebrities and politicians with my film cameras. Asking politicians and celebrities I work with to shoot their formal portraits has pushed me out of my comfort zone and forced me to work calm and quickly. Can you imagine what it was like to ask Nancy Pelosi, the person third in line to become president, to sit for me to photograph her with a vintage Rolleiflex? Not only have I grown as a photographer through this endeavor, and those like it, but the challenge has been thrilling.

2. Keep a Photography Journal.

This one layers onto the idea of always working on something. My advice: go into a job, a shoot, or project with an idea of what you want to achieve. Afterward, journal your experience- and this is important: YOU MUST DO THIS WITH KINDNESS. What does this mean? Remove your ego and do not limit yourself to what did not work. Be kind to yourself and ask, what went well and WHY? As for what went wrong, do your best to address it with in a dispassionate way.

3. Take a Class and Find a Mentor.

Everyone learns in a different way. Some people can go it alone but most cannot. It doesn't mean that they're not talented, just that that is not how they learn. A class (hopefully with hands on experience) will give structure to your learning process. Additionally it will provide you with some community.

If you’re interested in taking affordable photography classes in Los Angeles by an experienced event photographer, be sure to check out Barnsdall Art Center.

If you are learning to be a professional photographer, then the best way to learn is from a seasoned professional. Personally, I have trained several event photographers that have gone on to be excellent event photographers in their own right.

4. LOSE YOUR EGO and Get Some Feedback on Your Photography.

Try to get honest feedback from your peers and DO NOT rely on social media feedback. I swear to you, my least interesting photos are the ones that get the most likes. The images that perform the best are not necessarily your best. In the case of Instagram the images that are successful are the equivalent of junk food that gives you that blunt sugar, salt and fat fix. Good photograph is often layered and complex- not something to be observed long enough if takes to swipe.

5. GO OUT and Make Images!

How do you get good at guitar? You play guitar. How do you get good at photography? You take photos, lots of photos. Like anything, you need to practice if you expect to improve at photography. Hands on experience, in my opinion, goes so much further than anything else you do to improve your work. Yes, theory, art history, instructional videos, and such will all help you improve; But the hands on experience of making photographs is the glue that binds them together. I say this both out of common sense, but also from my experience as a photography instructor. Time and time again, it is my hands on workshops that my students say they benefit from the most.