
As a premier Los Angeles event photographer, I specialize in capturing the authentic, impactful moments and key interactions that define your corporate and private events.
I offer comprehensive event photography coverage for a wide range of occasions across Los Angeles. My expertise extends to capturing corporate events like conferences, corporate parties, brand activations, influencer events, product launches, pop ups, seminars, expos, trade shows, and conventions. I also specialize in private celebrations, including galas, award ceremonies, red carpet events, birthday parties, and holiday parties. From corporate, private, and political events, I ensure every moment is professionally documented throughout the Los Angeles area and Southern California.
Maximize Your Event Photography Coverage
In the above video and proceeding outline, I will discuss how to maximize your event photography coverage.
All of these tips and approaches to event photography come from over 13 years of experience as a professional event photographer in Los Angeles.
Event Photography Tips: How to Properly Cover an Event (Maximum Coverage!)
Here is what will be covered:
What your objective is, overall.
How it changes from event to event.
Lastly, How you can maximize your event photography coverage throug:
Logistical and practical event photography tips
Technical event photography tips
and Philosophical tips and exploration
The first thing to understand is what your objective is DEPENDING on the type of event you’re photographing:
This will OF COURSE vary vastly depending on the job and
It is important to understand Intended use
Corporate and political event photography clients will likely use your images for :
Marketing and promotion
Their Website
Or simply documentation for internal use
But with private event photography, intended use will likely include:
Documentation, of course
Social media posts
Framed prints
And things of that nature
With a firm understanding of intended use, you should of course...
Balance this, with your personal objective as a photographer.
As a professional event photographer in Los Angeles, for me, at every event, I:
love capturing meaningful, emotion filled moments far more than “cool shots”
want my event photography images to be windows to what it was like to be there
want to create visual reminders of how people felt in those moments at the event
But additionally, I have ever changing goals when it comes to how I work and what I want to achieve.
And lastly, I have a career goal as a professional event photographer in Los Angeles, which is:
To raise the bar, and challenge people’s notion of what event photography is, and what an event photographer can be.
So let's move onto a discussion of what maximum event photography coverage is, exactly.
Maximum Coverage vs more photos: Its about creating images, shot with intent, that are about something, that serve your clients needs- not getting more photos!
It is about finding a balance between focussing on VIPs and covering as many moments and participants as possible.
It's about capturing a wide variety of images of varying shot types at an event... In order to tell a well rounded visual story.
I’ve created a video on the shot types at your disposal that I encourage you to check out if you haven't already since This video is about getting as many of those shots as possible, not what those shots are.
But on top of that special focus, it's important to occasionally scan the room when photographing an event and keep a toll on who you’ve already photographed. But remember, while you want to get a shot of as many people as possible in attendance, you want to balance that with shooting with intent and making meaningful images. So don’t over linger on one person as you may end up missing other potential shots.
VIPs at various events often include:
Guest speakers
MCs
The Birthday boy or girl
Family members
And possibly Celebrities (I photograph a lot of these as a Los Angeles event photographer
Logistical and practical tips for maximizing your event photography coverage.
As a professional event photographer, you want to show up to a job ready to shoot. So what this means is:
Prep your gear in advance and have your:
Your lenses already cleaned
Your cameras tested
Your memory cards formatted
And your file formats checked (necessary for me since I teach and kids shoot jpegs)
Have your camera set up in a way in which you won't have to fumble around in menus.
Find a convenient spot for your equipment that you can easily return to it throughout the night. I personally only shoot with two camera bodies when necessary and swap lenses often throughout an event so it is important that in doing so I miss as few shots as possible.
BREAKS: I personally don't take many, but if not taking a break will affect your performance, TAKE A BREAK. Be wise.
You want to be friendly- this matters - But Learn how to politely exit conversations- especially uncle bob asking about your camera. You do not want to get bogged down in unnecessary conversation.
Stay fit, learn to fast and avoid blood sugar spikes.
My last Logistical tips for maximizing your event photography coverage
On top of that special focus on VIPS, as I have discussed, it's important to occasionally scan the room and keep a toll on who you’ve already photographed. But remember, while you want to get a shot of as many people as possible in attendance, you want to balance that with shooting with intent and making meaningful images. So don’t over linger on one person as you may end up missing other potential shots.
My philosophical tips for maximizing your event photography coverage
Stay present
Ego is a buffer between perception and reaction- don't be in your head
Clear your mind / meditate in the car before starting the job
I use this time to clear my mind and set intentions.
Engage with your senses, Listen for the life of the party.
Technical tips for maximizing your event photography coverage
Setup your camera in a way in which you never have to open menus
Pre Select Your Focal Point.
Time Your Shot Ahead of the Peak of Action.
Shoot with both eyes to be able to spot alternative moments while waiting for a shot.
Save Money on Photography.
My Money Saving Tips For Photographers!
First, beware of photographers and photography influencers selling to you. You must remember that they often have a different perspective than that of a working photographer. Furthermore, because gear review channels in part earn their income from affiliate links, they have an incentive for you to buy gear. To me, this seems like a conflict of interest. When they have an affiliate link in the description to buy the piece of equipment they are reviewing, their video is essentially a commercial.
I know that some influencers feel they can check themselves and that they can be honest, even with an inherent conflict of interest. But no one can really check themselves fully. Would you trust wall street to police themselves? Furthermore, a lot of games are played to get views and to feel more ethical about what they're doing. One example is not technically claiming a camera is the best camera at - whatever - by posing it as a question. Silly. Another technique I've seen is finding just one great feature of a camera and only discussing it whilst ignoring other aspects.
Next, be cautious of photography workshops. Yes, you can of course learn at a workshop, but there are a few issues worth exploring:
First, lots of celebrity photographers - and by that I mean photographers that are celebrities among photographers, not photographing celebrities - are simply great marketers, not always great photographers. But even if they are a great photographer, that does not mean they are a great teacher. Furthermore, if you're just starting out, you may not be able to absorb or effectively execute what they are teaching at this time. Lastly, great photographers do not always make great teachers or communicators.
Next, when purchasing peripheral gear, look to save money by buying the same exact product, not marketed toward photographers. I find deals all the time this way from LED lights, to sandbags, to clamps, to using a sous vide to heat my color chemicals.
With purchasing gear, I recommend buying the essentials first, and expanding from there. You do not want to buy anything you do not need- something you're likely to do when starting out.
Buy lenses first. They hold their value and you can always sell them without a major loss. Buying refurbished is a great and safe way to save money. Personally, though, I would avoid the risk involved with buying on Ebay, etc.
When it comes to camera bodies, I recommend a few things: Buy last gens model to save money. Ask yourself if you've done everything you can to improve your skill prior to buying a camera to improve the quality of your work. Learn skills to compensate for missing tech, like eye detect auto focus.
For amateur photographers, don't over purchase a camera. Buy something you can grow into. If you buy too much camera, by the time you are able to use it to its fullest potential, its not longer so cutting edge.
Lastly, if you're an amateur, consider shooting film. Depending on how often you shoot, and if you're willing to develop your own film, it can actually be significantly cheaper than buying new digital equipment.
I have been a professional event photographer and photography teacher for 10 years. Follow the links below to see more of my work or to support my efforts to help other photographers.
Patreon | https://www.patreon.com/mikmilman I
Instagram | @retrograding https://www.instagram.com/retrograding/
Facebook | https://www.facebook.com/mikmilman/
Event Photography Tips: Putting It All Together to Maximize Your Coverage!
I hope you find these event photography tips helpful. They are based on over 10 years of professional experience as a leading event photographer in Los Angeles. These event photography tips and tricks have mostly been developed through practice and developing habits, but I also spend a great deal of time working on my craft. I am always trying to improve my event photography and I hope these help you do the same!
My Conclusions on how to Maximize Your Event Photography Coverage.
Connecting the dots, you can see how all of these tips are used in unison: By staying present, reading the room, and following the energy, I am able to gravitate toward areas of an event in which lots of action is going to happen. By reading people’s eyes, I am able to predict who is about to smile and pre visualize my shot as I move into position, all while pre selecting my autofocus point before the camera hits my eye. By shooting with two eyes open, I am able to time my shot and already know where my next shot is going to be… then I repeat. I spend a lot of time thinking about how I can improve my event photography. It is important to me to always stay engaged with my craft and never settle. This has allowed me to constantly improve at event photography and I hope my tips help you on your own journey.
Event Photography Tip #1 Pre Select Your Focal Point.
When capturing a moment as an event photographer, rather than waiting for the viewfinder to reach your eye, consider where the point of focus will be in your composition and use your controller to set it. With practice this becomes intuitive. Keep in mind, that with evolving technology, this tip may become less or even irrelevant. Sony's eye AF, is a good example of technology that may replace the skill of pre-selecting your autofocus point. Also, as I am currently experimenting with new cameras, I want to mention that the delay in which the viewfinder activates in mirrorless cameras has been a challenge for me, in some cases preventing me from pre-selecting my focus point before looking through the viewfinder.
Event Photography Tip #2 Photograph With Both Eyes.
While one eye frames the shot, use your other eye to monitor the action. This technique improves your timing and you’re able to monitor the space while still framing a potential image. When covering an event, the goal should be to both get as much coverage as possible, but also to make sure each image is a quality one.
Event Photography Tip #3 Read the Room. Follow the Energy.
This is not hocus-pocus. Do not overthink it. Whether at an event or anywhere for that matter, there is always energy. There are plenty of auditory cues that give away where the energy is but there may be things that give it away that you are not even conscious of.
Event Photography Tip #4. Predict Smiles.
Have you learned to follow the energy? Good. Now it's time to predict a smile. watch the eyes and anticipate the pause- that is when you should be making your photograph. Of all my tips, I think your ability to implement this one may largely come down to personality traits. Not everyone will have as easy of a time predicting a smile. I do think that with practice, anyone can improve, but this is a skill highly determined by one's empathy.
Event Photography Tip #5. Time Your Shot Ahead of the Peak of Action.
You have a delay. Your motor skills have a delay. Your camera has a delay. Because of this, it is essential that you time your shot right before the peak of action. This is a tricky one. Of course shooting a burst of shots with a camera with a high FPS would help, but if your goal is to improve on your skills as an event photographer, it’s well worth it to practice this.
Links to see more of my work and throw me your support:
Patreon | https://www.patreon.com/mikmilman
Instagram | @retrograding https://www.instagram.com/retrograding/
Facebook | https://www.facebook.com/mikmilman/
Do These Things Before, During, and After an Event (Event Photography Checklist)
I made this checklist to clearly define everything you should do as an event photographer, before, during, and after an event. If you’re a new event photographer, this will clearly define your objectives as an event photographer and clearly define what needs to be done. I also hope it will ease any anxiety you may have over shooting your first event. If you’re a more advanced event photographer, having a checklist can ensure you simply don’t miss anything- we all make mistakes or forget things time to time.
View a printable checklist by clicking here or view it below.
The Day Before
Research
Check out company website
Get a copy of the program
Prep Gear
Select Camera Body(s)
Select Lenses
Wide
Medium
Telephoto
Primary flash
Backup flash
Inspect and clean gear
Charge or replace batteries
Camera(s)
Flash(s)
Other
Select memory Cards
Insert and format
Something fun
Other
Check commute and double the time necessary to arrive on time
Day of Event
Venue
Identify safe location to stow gear
Scout
Ask about site specific rules
Identify escape routes
Client
Get agenda / schedule of events
Get specific requests
VIPs
Necessary Shots
Shot Types
Establishing Shots
Candid interactions
Close Candids (emotional moments)
Group Shots and formals
Posed and creative portraits
Detail Shots
Post Event
Lightroom
Add metadata
Job type i.e. corporate event, private event
Location / venue
Client name
VIP names
Select favorites
Blog
Portfolio
Social media
Export files to full resolution folder
Export files sized for social media
Export favorites to separate folder (google drive recommended)
Deliver images
Marketing
Add client to mailchimp list
Follow up with client 1 week after delivery of images
45 professional event photography tips in 15 minutes
In this video, I decided to try something a bit different and just let the camera roll to see how many tips I could come up with before I got tired or ran out of tips. I got tired. I had a lot of fun making this one, so I hope you enjoy watching it as much as I did making it!
1. Hold your camera loosely 2. Hook your camera with your fingers 3. Shoot with both eyes 4. use your right eye to frame your shot 5. Use your left eye to time your action 6. Set your camera up so that you do not need to go into the menus. 7. How I set-up my ISO controls 8. Choosing a marketing strategy 9. Old vs new social media platforms 10. retaining clients 11. Don't obsess over gear 12. 5% rule 13. Switching brands 14. Remember this is a business 15. Every other upgrade cycle 16. experimenting with lenses 17. focussing on bread and butter gear 18. engaging with your craft 19. Don't cheap out on stuff like flash or memory cards 20. using two camera bodies 21. batteries and chargers 22. overcoming limitations 23. networking with your peers 24. don't think of your competitors as opponents 25. bring food to a job or get good at fasting 26. never stop learning 27. staying engaged with your craft 28. photographing everyone, focussing on VIPS 29. "over covering" VIPs 30. scanning a room 31. listen for the life of the party 32. don't over linger on a person 33. always shoot with intention 34. Generate 1:1 previews in Lightroom 35. Respect the craft and the profession 36. take and modify what you learn from a mentor 37. shoot often - muscle memory 38. tune out the noise 39. don't limit your sources of inspiration 40. question conventions - find your own way 41. make sure you're insured 42. live below your beans 43. don't depend entirely on photography for your income 44 always over dress over under dressing 45. you don't always need to wear black .

Event photography with a 50mm Lens
In this video, I answer the commonly googled phrase: “Event Photography with a 50mm Lens.
Can you use a 50mm lens to shoot events?
The short answer is yes, of course. It is important to remember that there are no “correct” lenses to use when shooting an event. On my Youtube channel and this blog, I have repeatedly said that you only need two lenses to get the job done as an event photographer: that would be a 24-70mm lens and a 70-200mm lens. Sure, you will probably want something wider than 24mm to round off your kit, bu you would most likely be able to make do. So why bother with a 50mm lens? Read on…
Why would you use a 50mm at events?
Using a 50mm lens at an event does have advantages.
First lets talk about the purely technical and most obvious:
While a 24-70mm and a 70-200mm lens would cover your bases in regards to focal length, or field of view, they are not going to be as effective in low light as a prime lens would be. In general, those lenses tend to max out at an aperture of f2.8, with few exceptions. Meanwhile, prime lenses (even of the most affordable varieties) tend to max out at at-least f1.8. This improvement in low light gathering ability can make a significant difference when shooting in especially low light.
Why else might you choose to shoot an event with a 50mm lens?
First, in most cases, using a 50mm lens is going to result in a much lighter kit. There are several advantages to this, not just that you won’t get fatigued. Personally, I enjoy the lighter (and smaller) kit when I’m working through tight crowds. I find that I am personally able to maneuver better and when I poke my lens through tight crowds, like when I shoot over someone’s shoulder, I am significantly less intrusive.
Second, I enjoy using a fixed focal length because I know exactly what my field of view is before I raise my camera to my eye. Through repetition, I have learned to see in focal lengths, which means I know exactly how many feet forward or backward I need to take to get the shot I am pre visualizing.
Third, a 50mm focal length is considered “normal.” What this means is that it approximately represents the field of view of the human. There is some debate on how accurate this statement is, but what is not debatable is that a 50mm lens does not have distortion- either barrel or pin cushion.
Can you photograph an event with just a 50mm lens?
Of course you can shoot an event with just a 50mm lens, but I would not necessarily recommend it. It will all depend on the demands of the job. If, for example, you need to photograph a speaker on stage, you simply just might not have the reach with a 50mm lens to do so. However, if you are photographing a party as a roaming photographer, with plenty of space to work in, it might be sufficient. Personally, I plan on experimenting with this in the future and sharing my results. Stay tuned!
Do I use a 50mm lens when shooting events?
Currently, I use a 50mm lens to shoot my events, but in a limited way. As I shared in the above video, I have a Canon RF 1.2 lens, but do not have a body to shoot it on. I do however from time to time adapt vintage lenses to my Canon 5diii. I mostly use a Pentax 50mm SMC 1.2, which I absolutely love. It’s full of character, has a wide maximum aperture, and has a special way of rendering color (warm and earth toned). However, being a manually focussed lens, it’s quite difficult to use. I love the challenge, but I look forward to being able to use a more functional 50mm lens for my event work.
A few personal thoughts on using a 50mm lens at events.
Early in my career, I learned to love the look of tightly framed shots of people, with a telephoto lens, at a maximum aperture. It is a look long associated with professional photography. But while I like it, I do think it can easily be over done.

The TV show Lost comes to mind: I used to find its use of long lenses and tightly framed shots to be an indication of a higher production value than what was normal for the time. But now, I actually find it quite disorienting. Shots like these lend themselves to what is a very human story, but at times this is done at the expense of offering any real sense of space when not balanced with a wider field of view. But even when Lost does widen its field of view, it is usually done by backing up further with a long lens, still resulting in a compressed look. By the way, I also think this is done to hide the fact that locations are often being reused.
These days I favor a more “natural” look with my photography. I find that a 50mm lens with its well balanced field of view and lack of distortion does the trick.
If you’d like some additional help or just want to support the free resources I create for photographers, please consider checking out my Patreon page. I offer additional help to photographers with things like business coaching and portfolio reviews. A lot of work goes into creating these resources; Your support means the world to me and truly makes a difference.
Instagram | @retrograding https://www.instagram.com/retrograding/
Facebook | https://www.facebook.com/mikmilman/
Starting a Photography Business Today in 2021
I was recently asked by a subscriber of mine on Youtube to tackle the subject of what I would do differently if I started my photography business today, in 2020. He was mostly referring to the particulate climate we’re in (that of a pandemic) - which I do address - but I decided I would use the opportunity to also address what I would do differently with the knowledge that comes with over 10 years in business.
The First Thing I Would Do Differently: Not Resist
As much as I want to view myself as a beautiful and unique snowflake, in the end of the day, I’m you’re typical artist: I’m idealistic; fiercely independent; despise selling myself or putting myself out there; and perhaps worst of all: I do not naturally enjoy the business side of running a photography business. Eventually I overcame much of this, but I am still dealing with the consequences of my early resistance to this day.
When I started my photography business journey, I held onto certain ideals such as word of mouth being all I needed to succeed. And to tell you the truth, for many years it really was. Early on all of my work came from referrals, but not all of them were exactly “organic.” You see, I recognized the power of a then emerging platform, Yelp. True, Yelp is just another form of referrals in a sense, but what this falsely reinforced was that in the end referrals were all I needed. The truth is that most of my early success was due to getting on Yelp early and recognizing its value before most other photographers. At a time when the average photographer in Los Angeles seemed to have 6-9 five star reviews, I had over 100. Since then, competition has increased, Yelp now filters out most of my reviews with their algorithms, and they have (but will not admit) taken punitive actions against me for refusing to participate in their paid services. Eventually work from Yelp completely dried up because of this. That and my full boar pivot into exclusively shooting events meant that outside of referrals, I had no significant source of work.
So while I was smart enough to recognize the power of an emerging platform, I was not smart enough to get out of my own way and follow the same formula with other emerging platforms.
What Are the Lessons I Learned From This?
First, do not put all your eggs in one basket. Second, get in early! The more mature a platform, the harder it is going to be to succeed on it. I am not saying there is no value in them, just that it will be a tougher road getting traction.
What I Do Differently Today
I now have a no stone unturned policy. I try to at least have an account on all major platforms, but that has less to do with being active on every platform and more to do with my overall SEO strategy- which of course includes generating backlinks to my website. I also especially try to get in early on new aps and services.
I’ve learned a lot, but I still make mistakes. I knew Tik Tok would be huge the week it came out. I didn’t want to make the same mistake of not getting on it early, but in the end I didn’t feel the platform was quite right for me. That is because short content is king on Tik Tok- quite the opposite of the long and thoughtful content I try to produce. But perhaps I should have further explored the platform before concluding it wasn’t a good fit. But at the same time - and this is important - you do not need to be on every single platform there is: choosing the platforms that work for you, while being sure you’re not putting all your eggs in one basket, is probably the best general advice I can give.
The Second Thing I Would do Differently if I Were Starting My Photography Business Today
When I first started my career as a professional photographer, I shot weddings. Not because I especially love weddings or because I wanted to be a “wedding photographer” per se. I started off shooting weddings because it was simply easy to get into. I never really thought hard on the photography I pursued. I just engaged in the hustle and figured it out. Now that’s not entirely a bad thing. I think through exposure to different types of photography, you can better figure out what it is you’re really interested in. Since I don’t think I fully knew what I wanted to shoot, I just got into whatever I could. Personally for me, I have more mental clarity that way. I’m not a fan of overthinking, so perhaps I needed to go through the process of trying different types of photography out before settling on one.
Ultimately you may need to do the same. But there is a lesson I can impart upon you and that is to think about what you want to pursue in a holistic manner. I encourage you to consider not just your interest in the type of photography you like, but the industry involved in that genre of photography and how it fits into your personality type and lifestyle. If, for example, you love fashion, but don’t like posing people, then perhaps fashion photography is not for you. Wedding photographers work much more intimately and in a more personal manner with their clients than corporate event photographers do.
You get the idea.
What I found is that for me, event photography was what I was most suited to because:
I really enjoy the process of being there to document. And while I do not mind interacting with and posing people I prefer the level of presence I achieve when solely documenting what’s in front of me (not to say that there are not posed group shots sprinkled into my event work).
I don’t like editing and event photography requires less of it.
Events require less back and forth between me and my client and tend to be more straight forward than a lot of other genres of photography.
Starting a Photography Business During a Pandemic
If you are just starting out, there is a lot you can do to work on your business without actually getting paid to shoot anything. You do not need to be a bonafide and hired event photographer to shoot events. A lot of things you do in your life are technically events: going to shows, birthday parties, street performances, and more can all be treated as an event. For more on this, I recommend taking a look at the following videos:
Building an Event Photography Portfolio
Running a Photography Business During a Pandemic
The last bit of advice I have is that you work harder than ever. While many photographers may be looking to jump ship and give up, my advice is for you to work harder than ever. That way you will be in a stronger position than before when the dust settles. Personally, I work harder when I’m shooting less than when I’m shooting often.
If you’d like some additional help or just want to support the free resources I create for photographers, please consider checking out my Patreon page. Your support makes a difference to me!
Instagram | @retrograding https://www.instagram.com/retrograding/
Facebook | https://www.facebook.com/mikmilman/
Los Angeles Event Photographers Tips on Being a Second Photographer
Getting Started as a Second Photographer
The first challenge for anyone looking to become a professional photographer is developing a portfolio. As I discuss in my complete event photography guide, you need a photography portfolio to get work but you need work to build a photography portfolio.
You do not need to work for free in order to build a portfolio. Rather, my advice is to build your portfolio around the things you are already doing in your life. An event can be just about anything including: street fairs, festivals, music events, birthday parties, etc. But although this will help you build a portfolio, second shooting has its own benefits.
How I Got Started as a Second Shooter
When I first moved back to Los Angeles and decided to make my passion my profession, I was faced with the common dilemma of not having the portfolio I needed to start doing professional work while needing to do professional work in order to build that portfolio. Most of my time during and after college was spent making fine art photography. I was confident in my knowledge of photography, but knew better than to be presumptuous and assume that it would 100% equip me for professional work. In fact I was already teaching photography, so I knew my stuff. When I decided to pursue professional work, the photography market was not as over saturated as it is today. I knew wedding photography was an easy field to get into, so I decided to pursue it. I knew that the best way to learn was by doing and I wanted to learn the trade from someone with experience. But to even second shoot, I knew I needed a portfolio. So what did I do? I shot a wedding for just about free. No joke, I think I charged about $180 just to cover my rentals- I didn’t even have all the gear I needed yet! But that one wedding I essentially shot for free landed me a second shooting job with the largest wedding studio in Los Angeles at the time. It was my big break in what was quite honestly a very difficult time for anyone: It was 2008 in the height of the great recession.
How Did I Make that Happen?
I’ll be the first to admit I am not a very organized person. But I was serious about pursuing a career as a photographer. So what I did, was make an excel sheet of every wedding photographer In Los Angeles that I could find. In it, I included the name of the studio, the name of the contact person, their contact info, and any notes I had on them. I then proceeded to email each of them and follow up with a phone call. Sadly, very few called me back and pretty much none of them were looking to even hire an assistant. However, a couple of them referred me to the studio that had the largest segment of the market at the time. So I gave them a call thinking that they would of course blow me off. Strikingly, the next day I got a call! I set an interview, showed up in a suit, shared my limited wedding portfolio, and was hired on the spot! I remember them telling me something like, “well, we have like 100 people interested in a job with us, but you seem good to us.” Not only did they bring me on on the spot, but it was as a second shooter, not an assistant!
How to Be a Good Second Shooter
First off, it needs to be said that what it takes to be a good second shooter will largely depend on the needs of the primary photographer. This is something that should be discussed between the two of you. Additionally, through the experience of working together, you will naturally figure out what their needs and expectation. Hopefully in time, the two of you will work cohesively with little direction. When I first started out second shooting weddings in Los Angeles, I mostly worked with one person. After a while I just knew what he wanted from me: the perspectives he wanted covered, the types of shots he needed, etc. We were in sync and I didn’t need any direction. So although needs will vary, the following information should be universal.
Remember That You Represent The Primary Photographer
When second shooting you are representing the studio of the primary photographer. Be sure to carry their business card and conduct yourself in a professional manner. In just about no circumstance should you ever share your own card. Even if you are giving someone your card for something unrelated to photography, I recommend just steering clear of it all together. It is best to just avoid any confusion.
What is a Second Photographer’s Job?
In the early days of digital photography, cameras were only equipped with one memory card. This of course put the primary photographer at a lot of risk of losing a day of work. In part, as a second photographer shooting weddings, my job was essentially to have a backup of the day. This was also a bit of a hold over from the film days in which you could lose an entire roll from user error to a mistake at the lab.
What Should a Second Photographer Focus On
What a second shooter should focus on will depend entirely on the needs of the primary photographer. This can also vary case by case. Lets talk about some examples:
Wedding Photography
At a wedding a second photographer’s job is often to capture alternate perspectives that a primary photographer just can’t. No matter how fast you can run, you can not be in two places at once and there are some specific examples in which you will need to be. One such example is during a first kiss. When I started out as a second photographer shooting weddings in Los Angeles, during the first kiss, I was always instructed to get over the shoulder shots of the groom, while the main photographer focussed on shots of the bride. Afterward, I was freed up to do more creative stuff.
During the cocktail hour, I was always instructed (eventually it didn’t need to be said) to photograph groups of people (crowd work), while the primary photographer photographed the reception room and detail shots.
When the primary photographer is shooting formals, a common task given to a second photographer can be to shoot candids of individuals in formal groups. These are often shot at a 45 degree angle from them, NOT over the shoulder of the main photographer. You should never be shooting over the shoulder of the main wedding photographer. This can cause confusion over which camera to look at and why would their client need multiples of the same shot only slightly inferior?
Event Photography
As a Los Angeles event photographer, there are times I hire second photographers. However, unlike at a wedding, their job is typically to cover what I am unable to. This can be due to multiple conferences happening at once and that sort of thing.
Large jobs can also call for a second photographer just to add extra coverage. Typically this is the case for events larger than 400 people.
Miscellaneous Tips on Second Shooting
When it comes to usage rights, be sure to have that discussion with the photographer you’re working for. Usually it is understood that you are in part second shooting for experience and to build a portfolio, but do not assume anything!
Always carry the business card of the photographer you’re working with and never give out your own. Even if it is for something unrelated to photography, you do not want any misunderstandings. You represent the main shooter, side dealing is not ok.
This may seem harmless, but it’s not a good idea to show the client the back of your camera to see an image. For all you know, for whatever reason, the main photographer might decide not to deliver that image to the client. This will lead to difficult questions from the client. They may even begin to wonder how many other images they chose not to share and open a whole can of worms. I know it is hard to say no to someone asking to see an image, but there are many polite and reasonable tactics you can use to avoid it.
Conclusions on Being a Second Photographer
I really hope the video at the top of this article as well as this write up gives you an idea of why you should second shoot, but gives you some general advice on how to go about doing so.
For me, second shooting at weddings in Los Angeles was an invaluable learning experience on top of being a great way to build a portfolio. I strongly encourage all beginner photographers to do so!
Los Angeles Event Photographers Review Canon 135mm f2 L.
Event photographers,
In this review I talk about one of my favorite lenses, the Canon 135mm f2 L. I have repeatedly recommended that people start with their “bread and butter” lenses, prior to purchasing something like this, and I stand by that. But when you’re ready to have some fun and open up some “creative” opportunities, this is an excellent choice.
Unfortunately, when I purchased this lens, I didn’t really have all of my “bread and butter” lenses / focal lengths covered. But also, I never really had a mentor advising me on what purchases to make. If there was someone on Youtube giving advice like I do, I certainly couldn’t find one.
I purchased my 135mm on what was a somewhat uncharacteristic whim. I saw it at a trade show in which no tax was being applied, and I decided to just go for it. I more or less spent about $1000- a lot less than most professional level L lenses by Canon, I suppose in part due to it being a prime lens and its age (its relatively old, having come out in 1996).
Why Do I Use This Lens for Event Photography?
In order to talk about when I use this lens, I think it is important to first talk about what sets this lens apart from other lenses.
First off, this lens does something no other lens in Canon’s lineup can do at 135mm (namely, the 70-200 in all its variants), and that is that it can shoot at f2. I have found that the one stop difference between f2 and f2.8 makes a significant impact in what I am able to achieve as a photographer, both practically and artistically.
Being able to open my aperture up to f2, can mean an additional 30 minutes or so of shooting with available light as the sun goes down. It can mean the difference between relying on strobes or not in a dimly lit event, or it can mean the difference between having acceptable noise in my image due to not having to raise my ISO an additional stop.
Going beyond the practical aspects of using this lens, there is just something unique about the shallow depth of field created by the combination of a 135mm focal length and an f2 aperture. I am the first person to say shallow depth of field is overrated, not the end all be all to photography, and actually not the best artistic choice when it comes to personal work like street photography; but when it comes to professional work, shooting with such a shallow depth of field not only achieves specific goals, but has an air of quality and professionalism to the results. Also, in the end of the day, having something visually unique about your work can make you stand out. It could mean the difference between getting hired or not.
When it comes to the quality of this lens, well, its considered a bit of a legend. When it was released, there wasn’t really a comparable Nikon version. It was known to be one of Canon’s sharpest, if not sharpest, lenses and was even reasonably priced- relative to many of their other L lenses.
My subjective take on it? This lens has character and not just due to its fast aperture and focal length combination. It’s sharp as hell when you nail focus and It renders color better than maybe any other EF lens I own.
Events I Use This Lens at
Now that I have covered what’s so great and unique about this lens, lets talk about some specific use cases when photographing events in Los Angeles.
As mentioned before, this is a great lens to use in low light. One thing I specifically enjoy doing is shooting with it wide open at a high ISO in order to get enough ambient light to seamlessly balance it with my strobe, which I’m really just using to improve the quality of light on my subject.
I often bring this lens along, even when I have my 70-200mm f2.8 is, because once I get all my safe bread and butter shots of things like a speaker on a stage, I can experiment with more creative stuff. Also, if size and weight is a concern, I will rock this lens on one body while I have something like a 24-70 on another.
I love shooting portraits with this lens and definitely favor it’s size, weight, aperture range, and focal length to my 70-200mm lens.
One of my favorite uses of this lens is shooting available light during blue hour- the period right after golden hour when the sun has set. Blue and magenta tones seemingly dance together, splendidly, which is further enhanced by the Canon 135mm f2 L lens’ unique character and very shallow depth of field. The result has something of an ethereal feel to it.
I love shooting in tight crowds with this lens. I find I can maneuver through them, while actively shooting much easier than I could with a large, heavy lens. It is also great for when you have to shoot over people’s shoulders or through things because it’s so much less obtrusive.
Lastly, I want to mention that I really just love shooting with this lens because I love shooting with prime lenses and not just for the obvious reasons. Yes, prime lenses are sharp and can generally shoot at wider apertures. But I just love the way it forces me to be more engaged with my craft. Having to physically move your body rather than just zoom in or out, is far more engaging and forces you to be more present, and ultimately potentially more creative. You might not agree with me. And believe me, I see the other side of the argument, but in the end of the day I liken shooting in manual and shooting with a prime lens to driving a stick shift car: a modern automatic will go 0-60 a lot faster, but that does not mean it’s as enjoyable.
What I Don’t Like About This Lens
Seriously, almost nothing. My one and only complaint is that it’s not the lighting fast focuser the 70-200 f2.8 IS, is. But that’s not to say it isn’t fast.
Conclusion
I have been using this lens to photograph events in Los Angeles for nearly 10 years. I probably should not have purchased it before buying at least one other essential lens, but hey I have no regrets. Some of my favorite work has been shot with it and it’s seriously a joy to use. Do you need this lens? No, probably not. But if you want to open up your creative possibilities, while having your work stand out, this fits the bill.
This has been a review of the Canon 135mm f2 L lens from the point of view of a working event photographer. If you would like a bit more technical information, I suggest checking Ken Rockwell’s review.
Los Angeles Red Carpet Photographer

The above video goes into great detail on how to photograph a step and repeat or red carpet, but you can see a transcript below! Thanks for watching.
Event Photographers,
Today I am going to talk about how to photograph a step and repeat. As an event photographer, unless you’re sticking to small, family type events, inevitably you will be asked to cover one. This may be as a dedicated photographer stationed at one throughout the night or part of a much larger event like the one we are currently watching
When I started out as an event photographer,I didn't really have a template available to me- I had to figure it out on my own, so today I am going to give you as much information as possible. Now, there is no “correct” way to photograph one and there are many ways to do it, but there are some pitfalls to be aware of and some things you actually can do wrong.
The first thing I recommend is arriving early so that you can fire a few test shots off. At the event we are currently watching, I was able to catch the guy setting lights up and was able to work with him to better position the lights. He initially had them aimed toward the top of the backdrop which would have led to uneven light on my subjects, shadows, and no catch light.
Of course I could have worked with this, but if you always want to work with the best possible situation. I would have preferred we got the lights a bit more spread out, but as you can see, there is a designated area taped off that I wanted to respect.
Next it was time to fire off a few test shots. What I recommend is using a flash as your key light, or main light, and use the continuous lights as fill. I usually start out doing my test shots without a flash and dial in a proper exposure for my fill lights at about F4 which is what most of my shots will be made at. I keep my ISO reasonably high so that my flash isn’t working too hard and once that’s dialed in, I dial in the proper exposure compensation on my flash unit. You have to remember that like your camera, when using TTL, your flash is exposing for middle grey. So you need to properly compensate for that. In this particular situation, my backdrop is black and I knew most people would be wearing darker than middle grey clothing. I don’t remember exactly where I ended up, but I know it was somewhere between minus 1 and minus 3/4 stops.
Whether you bounce your light or use a modifier to diffuse your light doesn’t significantly matter. At this particular event the rear corner of the room is pretty far from me, so I chose to use a diffuser.
Now it is important to acknowledge that for larger groups, I increase my F stop, but because my strobe is actually my key light, it doesn't affect the overall look of my images and they stay consistent. The only thing that would significantly change that is if a large group of people all wearing white filled my frame. In that situation, I would simply adjust my exposure compensation.
I hate editing and I worry about recycling time on my flash, so I try to make every shot count. I usually shoot no more than 3-4 images of groups unless they are VIPs. I mitigate blinking eyes by being mindful while I shoot, monitoring for blinks and by giving my subjects a countdown before I press the shutter.
There are a few different traditional crops I use depending on the backdrop. If the backdrop has branding on the top, like the title of the event, I am mindful to get a shot that includes that.
I typically do not do full body shots unless it's called for, such as at a Hollywood premiere. Non profit events are typically not about what people are wearing.
I shoot with a neutral perspective. I find that I’m a good height that's not too short for taller groups and not too tall that I'm not able to hunch over to shoot head on with a shorter group.
For horizontal shots, I line up my subjects eye line 1/3 of the way down from the frame and I'm always careful not to crop at the hands.
It’s also important you give proper breathing room on the sides of the frame. You do not want claustrophobic compositions and one thing you might not have considered is that if someone prints an 8x10 of a tightly framed group, you risk cropping off people at the shoulder, further cramping your composition.
The lens and focal length I use depends on where I’m stationed, but 99 percent of the time I am shooting with a 24-70. I try to keep my focal lengths as high as possible to avoid distortion on the wide ends and only rarely have to switch to my 17-40 to get everyone in the shot.
After a get my necessary shots, I always give a big smile, make eye contact and thank everyone. This keeps people moving along so that my line doesn’t build up. Luckily at the event we are watching, I also have helpers that guide traffic and keep things running smoothly.
Typically there are some moments in which I’m just standing around as well as a crazy rush, but usually I’m kept too busy to shoot anything else. If, however I do attempt to cover both a step and repeat as well as roam around, if lighting conditions are different enough, I take advantage of saved custom settings.
Event Photography Tips on Buying Gear from a Los Angeles Event Photographer
Aspiring event photographers,
Making a full time living as an event photographer is not easy. When I started out as an event photographer in Los Angeles, there wasn’t really a template to follow. That’s why I share as much knowledge as possible via my blog and Youtube channel. My hope is that this sort of content will ease your anxiety and make your journey easier.
I hope you enjoy this video on buying gear for event photography.
Buying Camera Bodies for Event Photography
When you decide to go pro at event photography you are starting a business. You have to remember that camera bodies are depreciating assets and the cost of constantly upgrading them means you are making less money. Additionally, If you are still early in the learning phase, by the time you know the ins and outs of your very expensive camera, it will have depreciated significantly in value and there will be better options out there with more modern technology.
My advice to event photographers just starting out would be to buy last generation’s model of whatever camera you’re interested in, whether new or used. Cameras experience most of their depreciation right away followed by a very large reduction in price once a new version comes out. After that they somewhat level off again. You can save a significant amount of money by buying old models once the new ones come out. Once in a while new camera models significantly improve upon the last model’s tech, but these days a generation old camera is still a very capable camera. I follow an “every other” upgrade cycle which has suited me well. I personally still use a Canon 5d iii as my main camera and its nearly 8 years old! It’s almost hard to believe it has been that long.
Use the money you save to start building your lens collection. Remember lenses make images more so than cameras. Additionally, unlike cameras, lenses hardly depreciate in value.
Which Professional Lenses You Should Buy First for Event Photography
Your first goal should be to cover all necessary focal lengths. This can be done with two lenses. The first lens you should buy is a 24-70mm lens. This lens will give you a somewhat wide to somewhat zoomed in field of view. Most events could be shot entirely with this lens. It’s great for candids, portraits, group shots, detail shots, and even somewhat wide establishing shots.
The second lens I recommend buying is a 70-200mm. These focal lengths are essential for a lot of different types of event photography from varying sports, conferences and anytime you need more reach with your lens.
Please note that when shooting with those lenses on a cropped frame camera body, those focal lengths will have the field of view of a 36-105 and 105-300 and may not be as suitable if you need a very wide field of view.
Once you have your main focal lengths covered with a 24-70mm and 70-200mm lens, the next lens I recommend getting would be on the wide end. I personally use a 17-40mm f4 lens when I need to get wider than 24mm. Canon also makes a superior 16-35mm lens, but for how I use a wide lens, its just not necessary. I am typically photographing larger groups or wide “establishing shots” which require a deeper depth of filed than f2.8 would offer to properly get everyone or most things in focus. When making lens choices, remember that you're building a photography business and therefore it is helpful to think of purchases as business expenses in which cost vs benefit should be weighed. I estimate that my 17-40mm lens is on my camera less than 5% of the time at most. It is still a necessary lens for what I do, but not worth upgrading. I used to have a fisheye lens. Take a guess how often I used that and why I sold it.
Buying Memory Cards
You can save money by not buying memory cards with larger storage capacities. Two 32 gig cards for example typically cost far less than one 64 gig card. But be sure to buy quality memory cards with fast read / write speeds. Do the research and make sure to buy the fastest memory cards recommended for your camera by it’s manufacturer. This will make a difference. Buying higher specced cards than what’s recommended may not make a difference. It would be like putting premium gas in a car not designed for it. I also recommend buying fast cards for their upload speeds. This will shorten your editing process.
Buying a Flash
When I started as a photographer there was no viable alternative to a Canon branded flash. It was essentially a two horse race then, with Nikon as Canon’s only competition. But since then, off brand manufacturers have closed the gap in the quality of their flashes for a fraction of the cost. Canon’s latest flagship flash the 600EX II-RT goes for $579 at full price. Meanwhile the Yongnuo YN600 RT-II comes in at $121. It’s essentially a Canon clone (It’s even named similarly. Don’t ask me how that’s legal), and costs less than a fourth the price.
Personally, I own two Canon flashes, but would not have a problem with purchasing a third party flash as another backup at some point.
How a Los Angeles Event Photographer Uses Composition to Enhance His Candids
Tips on Composition to Enhance Your Candids
Into
Composition can amplify what you feel about the subject matter or invoke a reaction all on its own. Today I’m going to share with you 5 tips on composition to enhance your candids. These are all tips I use as a candid event photographer in Los Angeles as well as in my street photography.
#1 Use a Dutch Angle.
The dutch angle, also known as a dutch tilt, canted angle, or oblique angle is when the horizontal or vertical lines of an image are tilted. In cinema, it is often used to convey anxiety, tension, or things gone awry, but incorporating a dutch angle into your candid photography you can give the viewer a sense that it was captured in the spur of the moment.
The Dutch angle is an effective tool for enhancing the candid feel of a moment, but should be used sparingly. Especially in a collection of images in which its strength lies in it being an outlier, not a norm
Fun Fact:
The Dutch angle coinage does not refer to holland. It is fact a reference to early German, or rather “Deutch” expressionist filmmakers.
#2 Shoot Through things to Frame Your Subject
When it comes to photographic composition, framing is most often used to draw your eye in toward your subject. But when shooting through things it has the added effect of conveying a shot was made in the spur of the moment or that the photographer was somewhat removed from the moment like a fly on the wall. From my point of view, this has become an increasingly popular technique used by event photographers. I have also begun to see this more commonly used by photojournalists: Think of photographs of campaign rallies in which the photographer shoots through a crowd of people and political signs to get a photograph of a politician on stage.
#3 Use a Tilt Shot to Shoot from Extreme High and Low Angles.
Shooting from high or low angles not only offer varied perspectives but also convey different meaning.
Images made from below convey importance, prominence, power. Try shooting from below when photographing a powerful politician, a local hero, or anyone you want to portray as strong, etc. Personally, I often choose to photograph the downtrodden and disenfranchised this way as a way of dignifying them.
Images made from above tend to evoke opposite feelings about a subject than shooting from below. Shooting from above can convey a sense of powerlessness, weakness, etc. You can use this technique to highlight the downtrodden or perhaps even as a way to visually dis-empower someone whom has plenty of it. The choice is yours. As my lab instructor in college used to tell me, “you’re the artist.”
Carefully consider how you use these angles. Yes, they can be used to just offer something different, but when used effectively they can amplify the feelings already conveyed in the subject matter.
Sometimes I’ll sit on my skateboard in busy places and go unnoticed. I especially enjoy photographing candid moments that look like they could have been posed.
#4 Don’t Be so Clinical with Your Composition.
Rules of composition are excellent tools for creating visual interest and drawing viewers draw your subject matter. But sometimes when several rules of composition are utilized at once, your composition can feel a bit too on the nose. This feels clinical and has the potential to feel contrived or lifeless- not candid.
I recommend experimenting with shooting a bit looser. Try adhering to fewer rules, or make sure the rules you do follow are less obvious.
You can argue that well balanced visual elements underpin the foundation of a strong composition. For example, in a composition using the rule of thirds, the subject matter occupying one third of the frame is balanced out by the two thirds of less important real estate.
Balanced elements should not be confused with symmetry: if, for example, you have an object of a specific size on one side of the frame you mustn’t have one on the other. We are not looking for equally sized objects or like colors to achieve balance. Rather, we are looking at the overall visual weight of things. Certain colors and shades will draw your eye in different ways. Something small but of more importance such as a person can be balanced out by something much larger but less important.
I admit the idea of visual weight can sound a bit murky.
But Try this:
One way to see how things are visually weighed is to defocus your eyes. See where your eye is drawn without the distraction of textures and subject matter.
#5 Be Unconventional. Break the Rules.
There are traditional ways to frame formal portraits whether candid or not. These traditions are in part formed by adhering to specific rules of composition such as the rule of thirds. But beyond rules of composition, we are used to a visual language developed by over a century of image making.
Experiment with breaking these norms. Try unusual cropping or usage of rules. Instead of having leading lines lead toward your subject, have them lead away. Subjects tend to look inward in a frame. Try having them look outside the frame and see how it makes you feel.
If you are looking for an example of how to effectively break rules, one of my favorite examples is Mr Robot. Do yourself a favor and check it out.
Thank you all for your support, I truly hope this helps you on your photographic journey. And as always I look forward to your comments below!
Event Photography Tips and Tricks (6 Shot Types)
Below is a List of your Main Shot Types when Shooting an Event
As an event Photographer in Los Angeles, I use all of these shot types in my work.
Establishing shots:
You do not need many of these. A few wide shots are essential to give a sense of place and establish scale at an event. I will typically shoot these at 17mm with my 17-40mm lens. I try to get a shot from several different perspectives. Shots like these can be each corner of a banquet hall, a wide shot of a crowd from
Close Candids:
These are the shots that really capture the emotional high points of an event. They can be shot in a variety of ways, but usually with a telephoto lens and a shallow depth of field in order to focus the viewers reaction on the emotion of the shot.
Candid Interactions:
Similar to close candids, candid interactions but provide context to the moment you are highlighting. In other words you can see the person or persons the subject is interacting with. You will typically want to stop down your aperture a bit for these to allow each of your subjects to be in focus.
Posed Photos:
Sometimes you will shoot posed portraits of an individual, but most of the time posed portraits are of groups of two or more. These are simple to do. Anytime you see a small group conversing, approach them with a smile and simply ask, “hey can I get a shot of you guys?” These should be shot at narrow enough apertures to capture everyone in focus. F2.8 or lower can work depending on distance, focal length, and how similarly distanced they are to you, but a rule of thumb I use is to shoot at f4 or higher to capture groups of three or more. I usually do not feel the need to go any higher unless the group is somewhat staggered in distance from me.
Portraits:
These can be a professional headshot or something more artistic. Once in a while, you may be asked to shoot one of a notable speaker or such. But usually, I’m shooting these for myself. It gives me an opportunity to work more intimately with someone, get creative in a different way than I spend most of my time shooting, and a fun way to build a portfolio.
Detail Shots:
There are many ways to shoot detail shots. I have shot these with a 24-70mm lens, 70-200mm lens, 50mm vintage lenses, 135mm lens and more. These shots will compliment your wider establishing shots to tell a story. Details matter at an event; Organizers put in a lot of work to produce an event of any size with many details to show for it. When photographing an event put on to showcase a product, the product should be your focus. That said, be sure to get shots of attendees interacting with the product. You should always discuss what your client is looking for, but this will most likely be it. Although a photographer’s job is in part to capture details, their focus should typically be on capturing defining moments. These moments tell a story and evoke a feeling regardless of the type of event. Every photograph delivered should be about something. It can be about an emotion, someone’s reaction, or an interaction between people, but there should be meaning behind each image. These highlights offer a window into what it was like to be there. Always shoot with intention and never raise your camera to your eye just to snap a shot. Event organizers and marketers do not need thousands of lousy images, they need photographs they can actually use. At private events people want emotion filled images that bring them back to a moment. Capturing the height of an expression can be a ringing reminder of exactly how they felt in that moment.
I have been a professional event photographer and photography instructor in Los Angeles for over 10 years. Click on the button below to see my event photography work.
Why I Bring a Film Camera to Every Event Photography Job I Shoot in Los Angeles

Having been an event photographer for over a decade, I am constantly looking for new ways to stay engaged with my craft. I mean this in a good way, but making images at an event with my digital cameras has become routine. My cameras are like extension of my body and once you put one in my hand, I completely zone into a meditative, creative space: I begin to move and think in certain ways with a fluid precision that can only be developed by thousands of hours spent developing habits. So what’s wrong with that? Well, nothing actually. This is ultimately where you want to be as a professional photographer. You want to be at a point in which you are no longer thinking about photography at a conscious level so that you are able to seamlessly document moment to moment without any hiccups over technical issues or the equipment you are using.
Familiarity with my craft is a great thing. But I know routine can prevent me from finding new ways to push my creativity, enhance my skill level, and find new ways of doing things. It is important for me to always consider new ways of make images. Sometimes this is for the benefit of my craft or skill. Other times it is simply to stay engaged with my work by infusing some extra fun into it.
For me, shooting film achieves all of this. Theres something extremely satisfying about manually operating a camera to do things modern cameras automate. This manual process forces me to consciously think about making images again. Because I use so many vintage cameras, my relative lack of familiarity with them in comparison to my usual work tools, forces me to stop and think. The limited number of shots I get on a roll forces me to more seriously consider if its worth pressing the shutter. When shooting digital, I always shoot with intention. But there is something about knowing you have a finite number of shots on a roll of film that enhances that. The stakes are raised and its thrilling.
With digital files, the tedious part of the job begins once the shooting ends. Culling and editing digital files is a lot of work. Because I strive to make meaningful images at an event, most of my images are keepers. But that said, I want to deliver the best to my clients which means painstakingly editing down the images I deliver.
But with film, it is almost as if the fun begins once I get home. A skilled photographer does not need to have a digital screen to know their images came out. The more you understand photography, which includes understanding how the camera sees in comparison to your human eyes, the less mystery there is in how your images are going to turn out. But with film you never really know until you see them with your own eyes. Every step of the hands on development process I do at home is filled with anticipation and focus. Like the first time I developed a roll of film, there is something magical about the first time I see my images. I have found this delayed gratification incredibly rewarding. What I once bemoaned about the process of photography, I now enjoy. And for me this very process has reinvigorated my passion for professional photography.
you can hear more of my thoughts in the video below!
Photographing Jamie Lee Curtis and Bernie Sanders with My Rolleiflex (Event Photography)
When not photographing events in Los Angeles, I can be found photographing the streets of Los Angeles. Click on the button below to see some of that work.
How to Go Unnoticed as an Event Photographer in Los Angeles
When photographing events in Los Angeles, outside of shooting photos like group shots and formals, my goal as a photographer is to never be noticed when making an image. I want to make honest images. I want to photograph people’s true self, not the version they want to present. I do this by not letting them know I am photographing them in the first place.
As a professional event photographer, I take a full body approach to my craft. Rather than limit my growth to the accumulation of technical knowledge, I take a holistic approach to how I constantly work at improving my skills as a photographer. This article will touch on some of these techniques I use as an event photographer in Los Angeles to go unnoticed by my subjects and capture emotion filled candids.
Avoid Eye Contact, Use Your Peripheral Vision
As a kid I used to love sneaking around like a ninja. My friends and I used to play capture the flag at night. But instead of flags we tagged each other by throwing oranges at one another like crazy people. This usually resulted in drawn out brawls of throwing oranges back and forth. But my approach was always different. Rather than engaging in a back and forth fight, I would stalk my friends or wait in hiding until I could sneak up behind them with an orange in my hand and tag them. They never saw me coming. One of the ways I achieved this was by never actually looking directly at them. You know that feeling of being watched? In my experience when gazing at my target they could sense my presence. Rather, I tracked my subject using my peripheral vision.
When on the job this is something I employ. I want truthful images. When someone knows they are being photographed they tend to perform. But through the use of some deceptive tactics, I am able to prevent someone from knowing they are being photographed. In addition to using my peripheral vision, often I will point my camera just slightly in someone else's direction. I do this while concurrently monitoring my true subject with my peripheral vision.
I minimize my ability to quickly capture something like a big smile by pre focussing before I point my camera away from the subject. Back button focusing tremendously helps with this.
Pre Visualize Your Shots
Knowing the image you’re trying to make prior to raising your camera to your eye saves time. This will allow you to go unnoticed by not raising your camera until you take the shot (if at all).
A large part of your ability to pre visualize your image is by knowing your focal lengths- or in other words: your field of view. This mostly works with primes as they have a set field of view. If you know it, you are able to quickly move into position to get the framing you want, without actually looking through your lens. This is a skill gained through repetition. If you work as a photographer, I believe it is something you will develop intuitively. But if you are just starting out, I recommend practicing. Do this by bringing your camera wherever you go and try to guess your field of view prior to raising the camera to your eye. You can even do this without a camera at all. Just start training yourself to see in focal lengths in your day to day life.
How I Hold My Camera to React Quickly
I never grip my camera. I hold it as gently as possible so that I am relaxed and not tense. If your muscles are tense, your breathing and mindset will be tense and vice versa. Often I shoot long days without a break. Just this week I shot for 10 hours straight without a real break. If I were to have been firmly gripping my camera for that amount of time, my hands would have cramped.
In addition to avoiding fatigue, the way I hold my camera directly affects how nimble I am and therefore how quickly I am able to respond to things. Rather than grip my lens, I use two to three fingers to create a pivot with my left hand. This allows me to swing my lens (especially my long telephoto) agily into position.
How I Move as a Photographer
How I move is probably the most important factor in me going unnoticed. I move intentionally: every move I make, from the steps I take, to how I navigate crowds, is done deliberately. To be clear, moving deliberately is not the same as moving robotically. Everything should flow. Don’t be a rhino. Rarely is athleticism discussed in regards to a photographers skill, but it is in fact essential to anyone looking to take their craft to the next level.
Do Photographers Need to Wear Black?
The short answer is no but it depends on the job. In my opinion, rules are for people with a boss. If you take your craft seriously, you will understand the game. You will know when not wearing black is acceptable.
It is my opinion that the methods discussed go much further in allowing you to go unnoticed as a photographer than what you are wearing will. On the job, you’ll likely be in a sea of people, all wearing different colors, many of them wearing black or grey. Do you really think this is going to be the pivotal thing that allows you to effectively blend in? Of course there are some exceptions to this rule. If I know I am going to be on stage or blocking people’s field of view to get my shots of, say a guest speaker or award recipient, I prefer black. It goes without saying that you should not wear anything flashy. I personally stick with black and grey suits, but this is more out of a preference than a rigid rule.
How to Dress as a Photographer. Can You Look Too Good?
No. You can never look too good as a photographer. I’m not a very material person, but one thing I like are well fitted suits. In fact, when on the job, I often get complimented on them.This is a good thing. It leaves a strong impression and can lead to more work from attendees. Remember, most people will never see your images at an event, but they will see how you conduct yourself.
Although you can not dress too well, you can overdress. Until you just kind of get a feel for how you should dress, my advice is to simply ask your client.
Conclusion on How to Go Unnoticed and Capture Candid Moments
There's a lot more to going unnoticed as a photographer than what you wear from how you move, where you look, and even how you hold your camera. In fact, there are probably many things I employ to be ninja-like that I’m not consciously aware of. I’ll keep thinking on this to come up with more ways I go unnoticed. That way I can work on them further and share them with you. In the meanwhile, what are some of the ways you go unnoticed as a photographer?
Canon EOS-1V Review
Introduction to the Canon EOS-1V
When it was released in the year 2000, it was the greatest film camera ever made. In 2019... It is the greatest film camera ever made.
OK, perhaps claims of it being the best is somewhat debatable. Some may argue that Nikon’s f5 of 1996 was up there with the Canon 1V. But one thing is for sure, the Canon 1v represents the pinnacle of professional sports film cameras. It was the end of an era; The end of the line for flagship film cameras. It would be just two years later that Canon would release the digital 1D. We face something similar today in which the upcoming (yet to be announced) Canon 1DX iii, will likely bookend the legacy of the EF mount DSLR. I suspect we will see an RF mount version based on it within the next two years of its release.
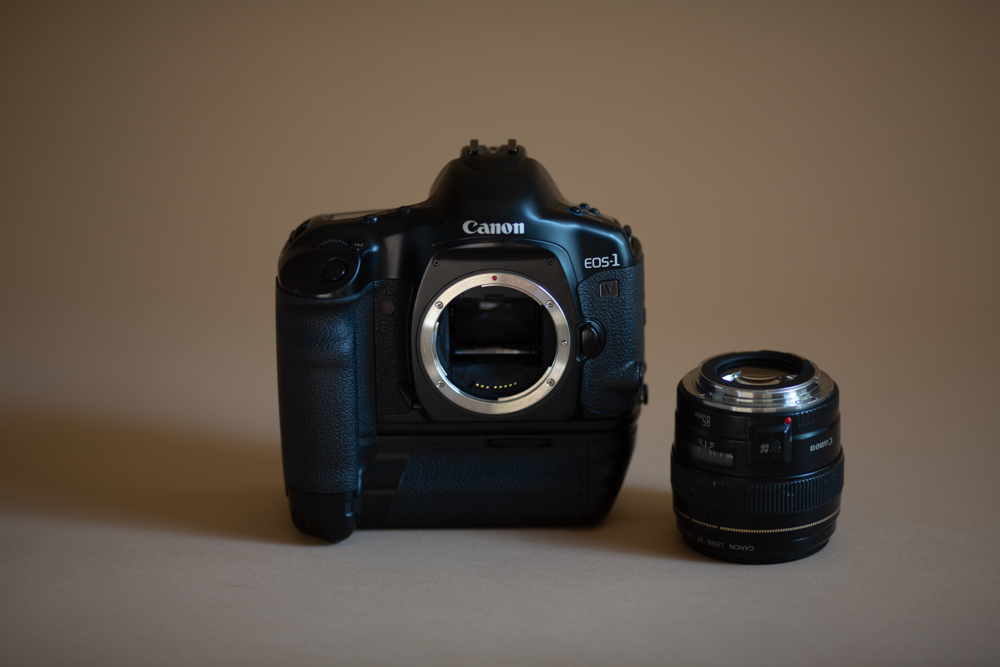
Canon 1V with my 85mm 1.8.
How I got my 1V
I got my Canon 1v a few years ago when I realized that the poor college kid who could never afford decent gear could now easily buy Canon’s best for a mere $499. At the time of writing this article, they seem to be going for closer to $700 on average. Mine was in brand new condition and I was able to order it on Amazon.
But fulfilling my former, poorer self’s dreams was not the only reason to pick up a 1V. There are more and better reasons for having this camera other than having the best in class.
Familiarity
If you’re at all familiar with current pro DSLRs by Canon, you will feel right at home with the 1V. It’s form factor and button layout are all very Canon-like. I am able to use my 1V exactly as I would my 5diii. Including with back button focus, one of the most important things to me. The only thing you will find missing is a controller to set your auto focus point. Rather, setting your focus point is achieved by pressing the [•::::•] button and use a combination of your shutter dial and rear controller to move your focus. To this day, you can still set your focus point this way on most Canon cameras- even those with directional controllers.
Truthfully, as a professional event photographer, this would be a non starter for me with any new piece of gear. But although I would find a focus point controller welcome, I have found that not having one is not too much of a hindrance and I quickly got used to setting my focus point this way. In fact I have felt right at home shooting professional work this way and in practice it has hardly affected my hit rate of keepers.

Canon 1V with 70-200mm f2.8 and the 24-70mm f2.8
It’s The Lenses, Stupid
In addition to being instantly familiar with the layout and feel of the 1v, it is entirely compatible with all of my pro glass. Every EF lens I own works flawlessly with the 1V, including those with image stabilization. I have even used vintage m-42 glass on it using an adapter I bought for my 5diii.
Using this camera with all of my pro lenses is like living the dream of my former self. Sure, I have been shooting with pro glass professionally for 10 years, but that was always on digital bodies mostly doing work for other people. Shooting on the 1V is for me- Even when I use it at work, photograph events in Los Angeles.
EX Flash Compatibility
The 1V is completely compatible with all EX and EZ flash units. I even use Canon’s latest flagship flash, the 600 EX II-RT. Using TTL, the flash works exactly as it should and you can expect consistent results as you would with digital.
Build Quality, Durability, and Whether Sealing
The EOS-1V is almost entirely made of magnesium alloy. It is robust and feels great in the hand. This is a camera that can take a beating in just about any condition. But more importantly, as a Canon shooter, using it is a pure joy.
I personally really enjoy shooting with a variety of film cameras. I especially enjoy the ones with the most quirks (Anscomark m, Rollei 35s, Voigtlander Vito ii, etc.), often making them the most difficult to use. But when I want a camera that just does the job, effortlessly and in a way I am used to when working, I choose the 1V.
Design
Curved, with rounded edges, the Canon 1V is a camera that embraces design ethos of the 90s. It is a minimal camera. Missing are certain dedicated dials like you would find in the Minolta Alpha 9 or Nikon F5. The top left plate has just 3 buttons to control 7 different functions. Changing certain things like drive mode require you to press two buttons in unison and then rotating your shutter dial.

top left plate of the canon 1v.
Although I am someone that really enjoys the tactile experience of using a camera, the truth is that Canon’s choice in how you operate the camera in no way slow you down once you are used to it. In fact, by clustering everything together so that they are all operated in a similar way, I think there is an argument that the 1V is more efficient than having to reposition your hand to change various dials.
I’ll be honest, as a long time Canon shooter, I have always visually admired the hard lines of Nikon cameras. But design-wise, Canon cameras have always just made sense to me.
Features
Feature wise, the 1V is designed for working professionals. It’s 45 point Autofocus system is fast even by today’ standards. Everything a working professional needs is at their fingertips and nothing more. Because I want to focus on sharing what it is like to use the camera, I am going to avoid listing off specs here. However, I will link to a resource for that and to a full spec sheet at the end of this article.
Interesting Features Worth Noting
The Canon is capable of roll number imprinting. Is this feature useful to you? Maybe not. I have yet to use it, but I may play around with it a bit. I think this was most useful in determining who shot what when multiple rolls are developed by a team of photographers.
The 1V also tracks exposure data. For sure this could come in handy, but accessing it requires dated software on a dated computer. It’s not worth the trouble to me.
With the 1V you can register a focus point so that you can instantly return to it. This feature is still present in current Canon cameras. I do not use it too often, but I am sure to some it may be helpful. By default, this is set to the middle autofocus point.
My favorite interesting feature of the 1V is the ability to set it to leave your film leader out when you rewind. As someone that develops all their films at home, I love not having to break open a roll to load it onto a reel. Click here to see my savage method of opening film cassettes.
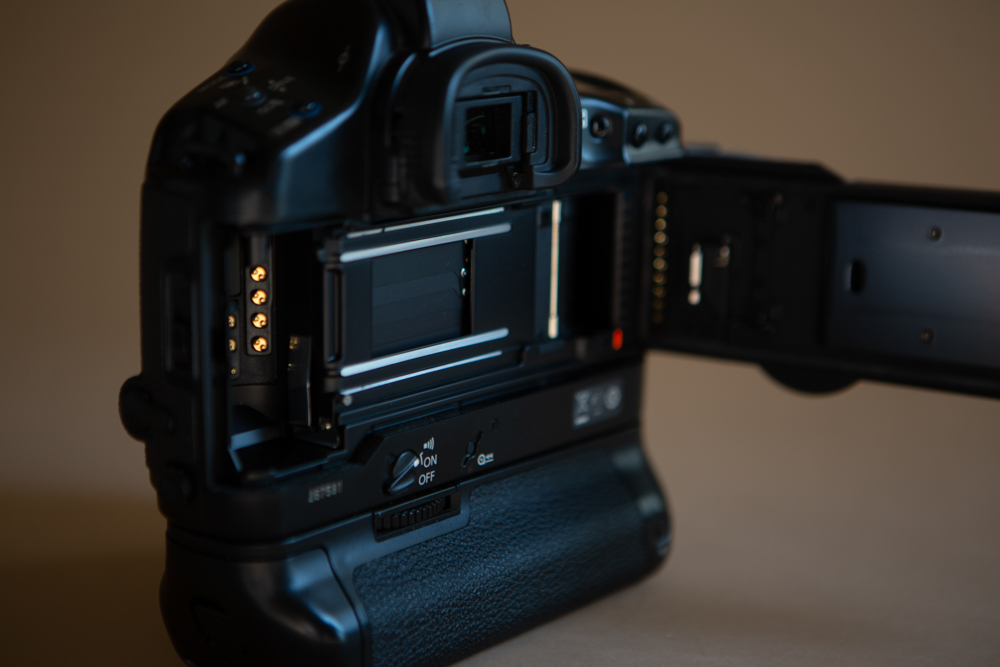
Rear view of the Canon 1V.
Purchasing the 1V
If it’s not already clear to you, any film shooter with existing L grade glass that wants top notch shooting experience and quality of images should own a 1V. I think wedding photographers and event photographers like myself will especially enjoy using it. When searching for a 1V keep in mind that there are two versions: the base 1V and the 1V HS. The HS model is identical but includes a battery grip that brings its shooting speed up to 10 FPS. However there are 3 different grips that are compatible with the camera in total. I personally use one I rescued from a Canon 1n. It had lots of battery corrosion, but with some white vinegar and q tips I was able to clear it up.
I bought my 1V on Amazon just a few years ago for $499 with prime shipping and it was worth every penny. It was in like new condition and included the box with all its accessories. At the time of writing this article, prices seem to be averaging around $700 and I doubt they are in the condition mine was in. I anticipate costs going up for the foreseeable future, so I would not hesitate in buying one if you’re interested.
The 1V was a camera built for and used by working professionals. It is not a Leica or collectors item. Because of this, you can expect a fair amount of them to be beat up by now. However, it stayed in production until somewhat recently so you should be able to find some in solid condition.
Conclusion
For any film shooter with existing EF glass, the 1V is a must own piece of equipment.
If you’re a working professional photographer shooting a mix of film and digital, throw it in your bag and effortlessly swap between the two without the need for separate lenses.
If you want a professional grade film camera that reliably gets the job done with the modern features you’ve come to love and rely on, then the Canon 1V will feel right at home, all while delivering top notch image quality from your pro lenses.
In the digital age, the best film camera of 2000 will stay the best for the foreseeable future. Do yourself a favor and get one now.
Los Angeles Event Photographer Tips and Tricks (advanced)
I hope you find these event photography tips helpful. They are based on over 10 years of professional experience as an event photographer in Los Angeles. These event photography tips and tricks have mostly been developed through practice and developing habits, but I also spend a great deal of time working on my craft. I am always trying to improve my event photography and I hope these help you do the same!
Event Photography Tip #1 Pre Select Your Focal Point.
When capturing a moment as an event photographer, rather than waiting for the viewfinder to reach your eye, consider where the point of focus will be in your composition and use your controller to set it. With practice this becomes intuitive. Keep in mind, that with evolving technology, this tip may become less or even irrelevant. Sony's eye AF, is a good example of technology that may replace the skill of pre-selecting your autofocus point. Also, as I am currently experimenting with new cameras, I want to mention that the delay in which the viewfinder activates in mirrorless cameras has been a challenge for me, in some cases preventing me from pre-selecting my focus point before looking through the viewfinder.
Event Photography Tip #2 Photograph With Both Eyes.
While one eye frames the shot, use your other eye to monitor the action. This technique improves your timing and you’re able to monitor the space while still framing a potential image. When covering an event, the goal should be to both get as much coverage as possible, but also to make sure each image is a quality one.
Event Photography Tip #3 Read the Room. Follow the Energy.
This is not hocus-pocus. Do not overthink it. Whether at an event or anywhere for that matter, there is always energy. There are plenty of auditory cues that give away where the energy is but there may be things that give it away that you are not even conscious of.
Event Photography Tip #4. Predict Smiles.
Have you learned to follow the energy? Good. Now it's time to predict a smile. watch the eyes and anticipate the pause- that is when you should be making your photograph. Of all my tips, I think your ability to implement this one may largely come down to personality traits. Not everyone will have as easy of a time predicting a smile. I do think that with practice, anyone can improve, but this is a skill highly determined by one's empathy.
Event Photography Tip #5. Time Your Shot Ahead of the Peak of Action.
You have a delay. Your motor skills have a delay. Your camera has a delay. Because of this, it is essential that you time your shot right before the peak of action. This is a tricky one. Of course shooting a burst of shots with a camera with a high FPS would help, but if your goal is to improve on your skills as an event photographer, it’s well worth it to practice this.
Did you find these tips helpful? Looking for a more complete and thorough guide on event photography? Check out my A-Z Guide to Becoming an Event Photographer!

17 Event Photography Tips You Need to Know to Get Started from an Experienced Event Photographer in Los Angeles
17 of my top tips and tricks to help you get started as an event photographer! All part of my 40 minute and nearly 4k word Event Photography Guide
Photograph Events in Your Life to Build a Portfolio.
This can be birthday parties, music festivals, concerts, corporate parties, private events, or pretty much anything you’re attending as a guest. You do not need to wait to be a working event photographer to practice your craft and build a portfolio. Many of your life activities can be considered an event. And if nothing else, shooting something as if it were one can be a great way to practice.
Personally, I love street photography as a way for me to work on something for myself, practice new techniques and methods, and yes: I’ve been shooting professionally for over 12 years now but I still add some personal work into my portfolio.
Volunteer Your Time to the Right Organization.
As a principle, you should avoid working for free for people that can and should pay for a professional photographer. Just because something is also good for you does not mean you should do it for free. But unfortunately there are people that are looking to take advantage of the fact that you can be manipulated into doing something free that you should be paid for.
Rather than work for free by someone that can and should pay you, my advice is for you to shoot for something like a non profit organization you believe in as it can be a great way to build your portfolio and support a good cause.
Learn From a Pro.
Start by assisting or second shooting for a seasoned professional. There are so many benefits to learning from someone rather than going it alone. Even if you are pretty familiar with the technical side of photography, you can learn go to settings, all about the gear you need, and other aspects of what its like to cover an event and run a business. By shadowing someone with experience, you can develop a template to follow or make your own when it comes to building your own business.
Leverage Your Connections.
Don’t be afraid to put it out there that you are building a portfolio or that you have already begun a professional photography business. Post your photos on social media sites like Facebook and Instagram. Post your website, your blog, anything you can to signal to people you know that you’re a photographer. If you’re lucky, you already happen to know event planners and such that you can network with- you just need to let them know that you’re shooting or plan on shooting professionally. Also, you don’t need to start with big corporate events. I didn’t. I started small. Most of my early work as an event photographer was shooting kids birthday parties. Odds are that you know plenty of people with kids that are having birthday parties.
Buy Lenses First.
Camera bodies depreciate in value and by the time you are able to get the most out of one, something better will be released. Lenses, however, hold their value and are much more responsible for the quality of your images than a camera body. Typically you will not need to upgrade your lenses, either. The lenses you buy will likely be a part of your kit for the length of your career as a professional photographer.
Buy the Lenses You Will Use Most First.
Don’t be tempted by niche lenses like a 135mm f2. If you check out my review on that lens, you’ll see I love it and make a lot of use of it, but it by far gets less use than my 24-70mm or 70-200mm lens. I think it’s really important you get all the lenses you need first. You want to both make sure that all your bases are covered and that you are making smart business decisions. Getting a lens with a lot of bang for the buck is a smart business decision.
Buy Fast Memory Cards.
Trust me, its worth it. Not only will a fast card help with shooting speed and recording in certain video modes, but it will also just make the process of uploading your work faster. Imagine shooting a 12 hour wedding day, coming home, and it taking 6 hours to upload all the files. Today, I would probably be ok with putting off my upload, but back then, shooting with a 5d classic which only had one memory card, I needed to make sure I had two copies of my files before getting some sleep. Even though that’s no longer an issue for me, it’s still important that I shoot on fast cards: my corporate clients tend to need very fast turnaround times. Some events I even offer live edits; fast memory cards are especially important for this.
Setting Rates
Start low and incrementally raise them until you see a drop off in how much work you’re getting.
Always Show Up to a Job Early
Not only will this give you peace of mind, but it will also give you time to photograph static detail shots so that you are able to focus on what's happening once the event starts. .
Always Dress Appropriately.
If you’re not sure how to dress, don’t be afraid to ask your client. You should always over dress over under dressing.
Smile to Get People to Smile Back
Most people can not resist smiling back when you smile at them. It’s human nature. If you want people to smile, simply give them a big smile and they will reciprocate!
Make Meaningful Images! Never Take a photo to Take a Photo. Shoot with Intention.
I go into great detail in the full version of these tips. But the short version of it is that you should always be striving to make images that are actually about something. Never raise the camera to your eye just to make an image. Know what it is you are trying to capture. Shoot with intention.
Mix Your Shots up to Tell a Story
Watch the whole video where I cover shot types. Here they are:
Establishing shots
Detail Shots:
Close Candids
Candid Interactions
Posed
Under Promise / Over Deliver
Give realistic turn around times but always give yourself a buffer. If you think the edit will take 3 days, tell them it will take a week.
Cull Your Images.
Meticulously edit down your work. Do not put the burden of this on your client. You want to make it as easy as possible for them to find your best work, especially when your images will be used for social media or marketing.
Rate Your Photos!
Use my 5 star system or make up your own, but rate your photos now rather than later. You do not want to go through the laborious task of doing this a year from now when you decide to update your portfolio.
Maintain Your Clients
Be sure to stay in touch with your client after the job and develop a relationship. One way to do this is by using a mailing service like mail chimp.
SEE MY ENTIRE GUIDE
The most complete event photography guide to date
My First Roll with the Anscomark M
Anscomark M a Quirky But Fantastic Rangefinder
I recently shot my first roll with the Anscomark M, a little known, but incredible vintage camera. I hope you enjoy it! I will complete a full review of the camera down the road.
Until then, heres a little bit of information about the Anscomark M:
The Anscomark M is a 35mm rangefinder style film camera released by Ansco around. 1960. Although an Ansco branded camera, it was manufactured by Ricoh and sold as the Ricoh 999 in Japan. Fun note, Ricoh is still a big manufacturer of cameras although not well known. Today, Pentax cameras are in fact Ricoh cameras with Pentax branding. The Anscomark M has An internal leaf shutter. Three lenses were made: a 35mm, 50mm lens, and 100mm lenses. The camera included frame lines for each! The camera's nameplate flips up to reveal a selenium meter coupled to the lens's aperture. Exposure is achieved using a match needle. The Anscomark m is non mainstream in its design in that the body has a bottom-mounted film advance lever, and a peculiar shaped triangular shutter release located in the front of the camera.
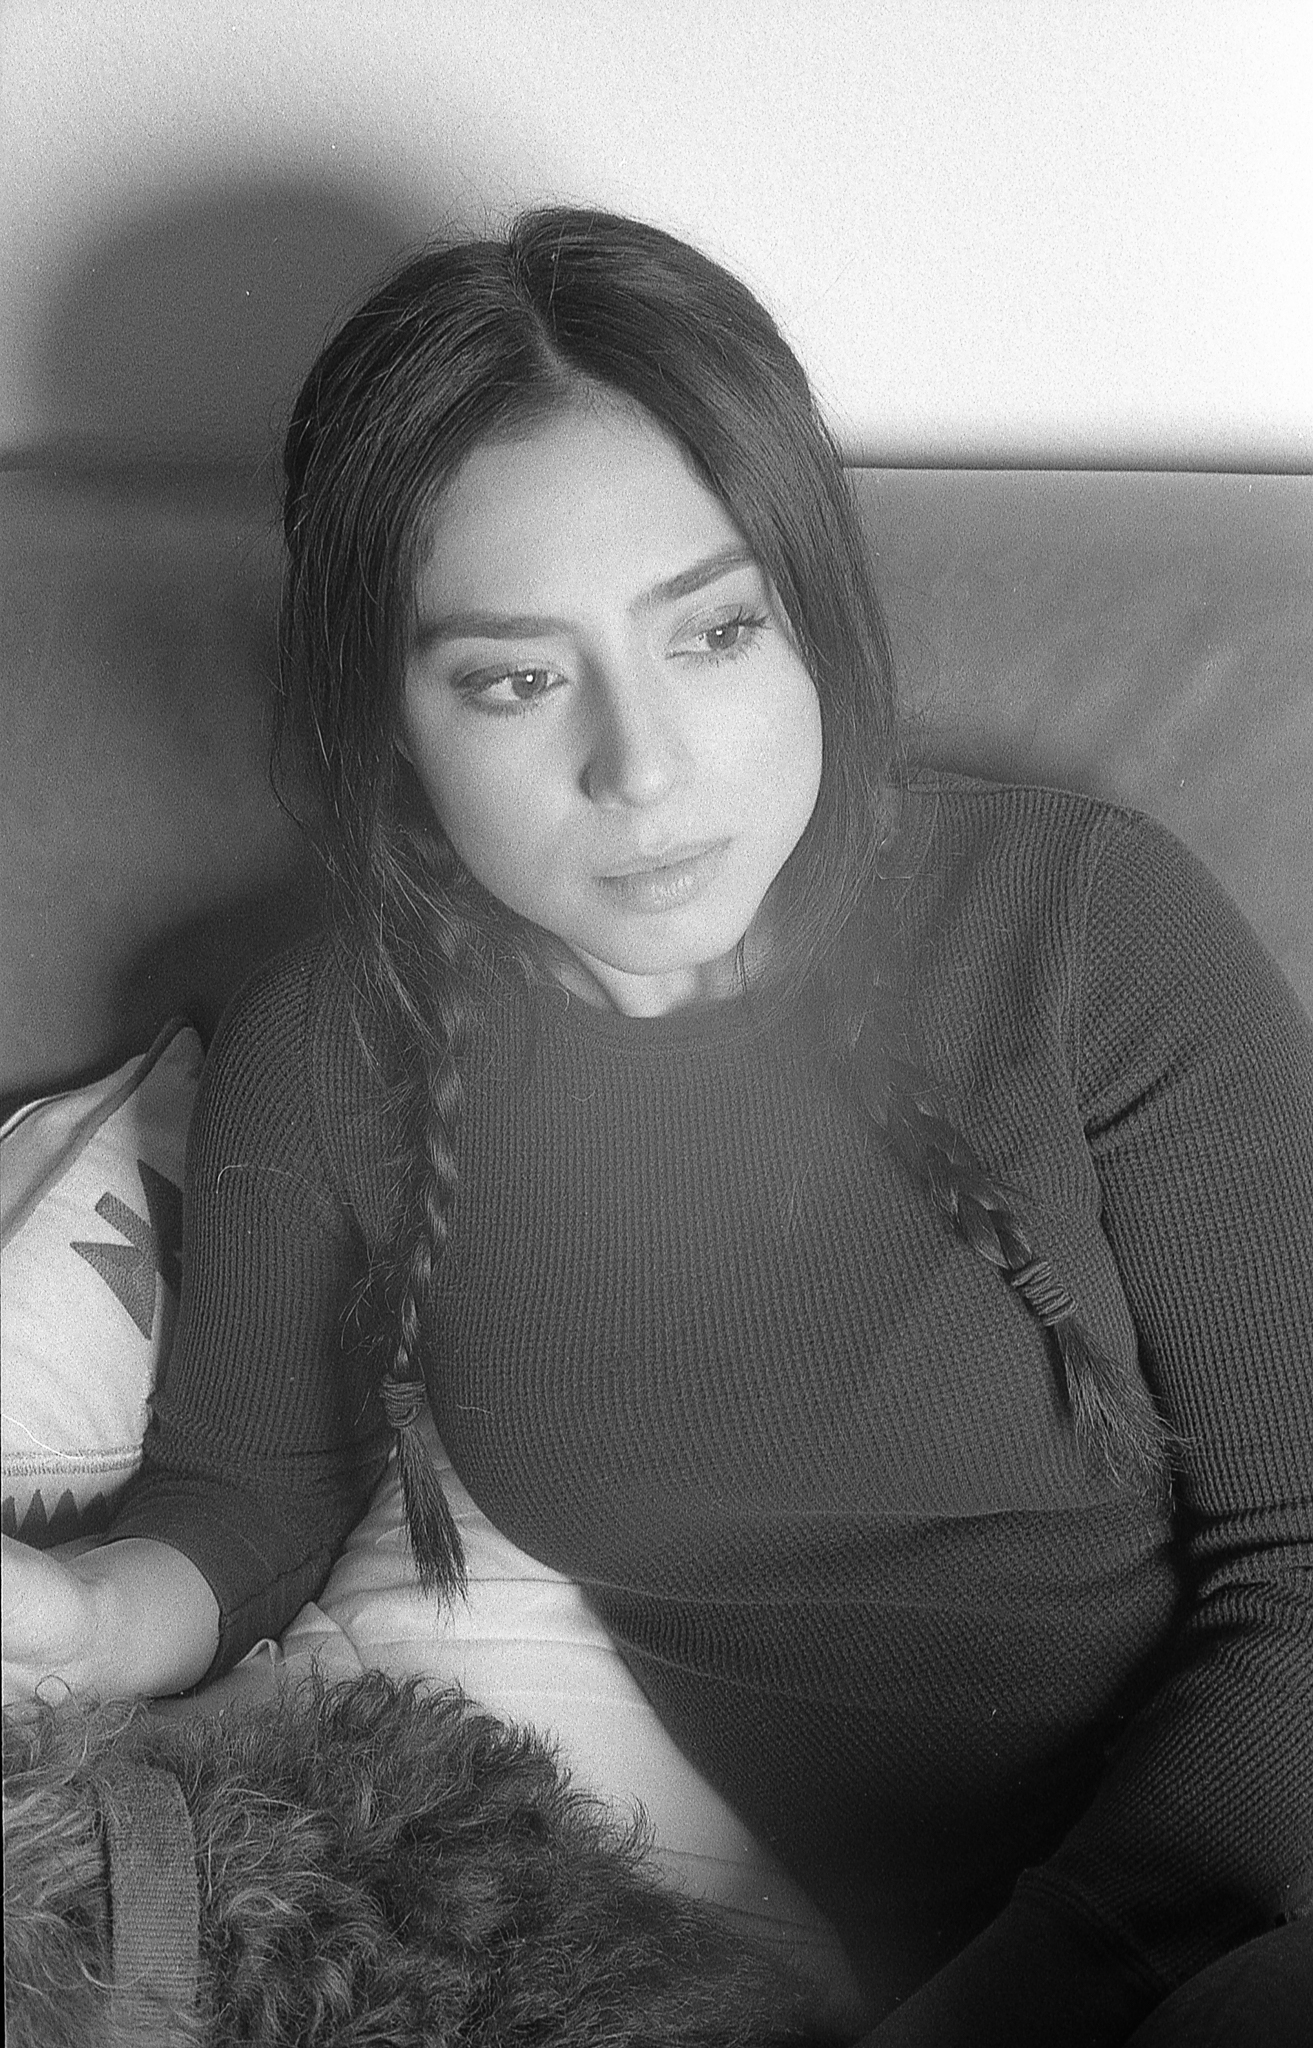
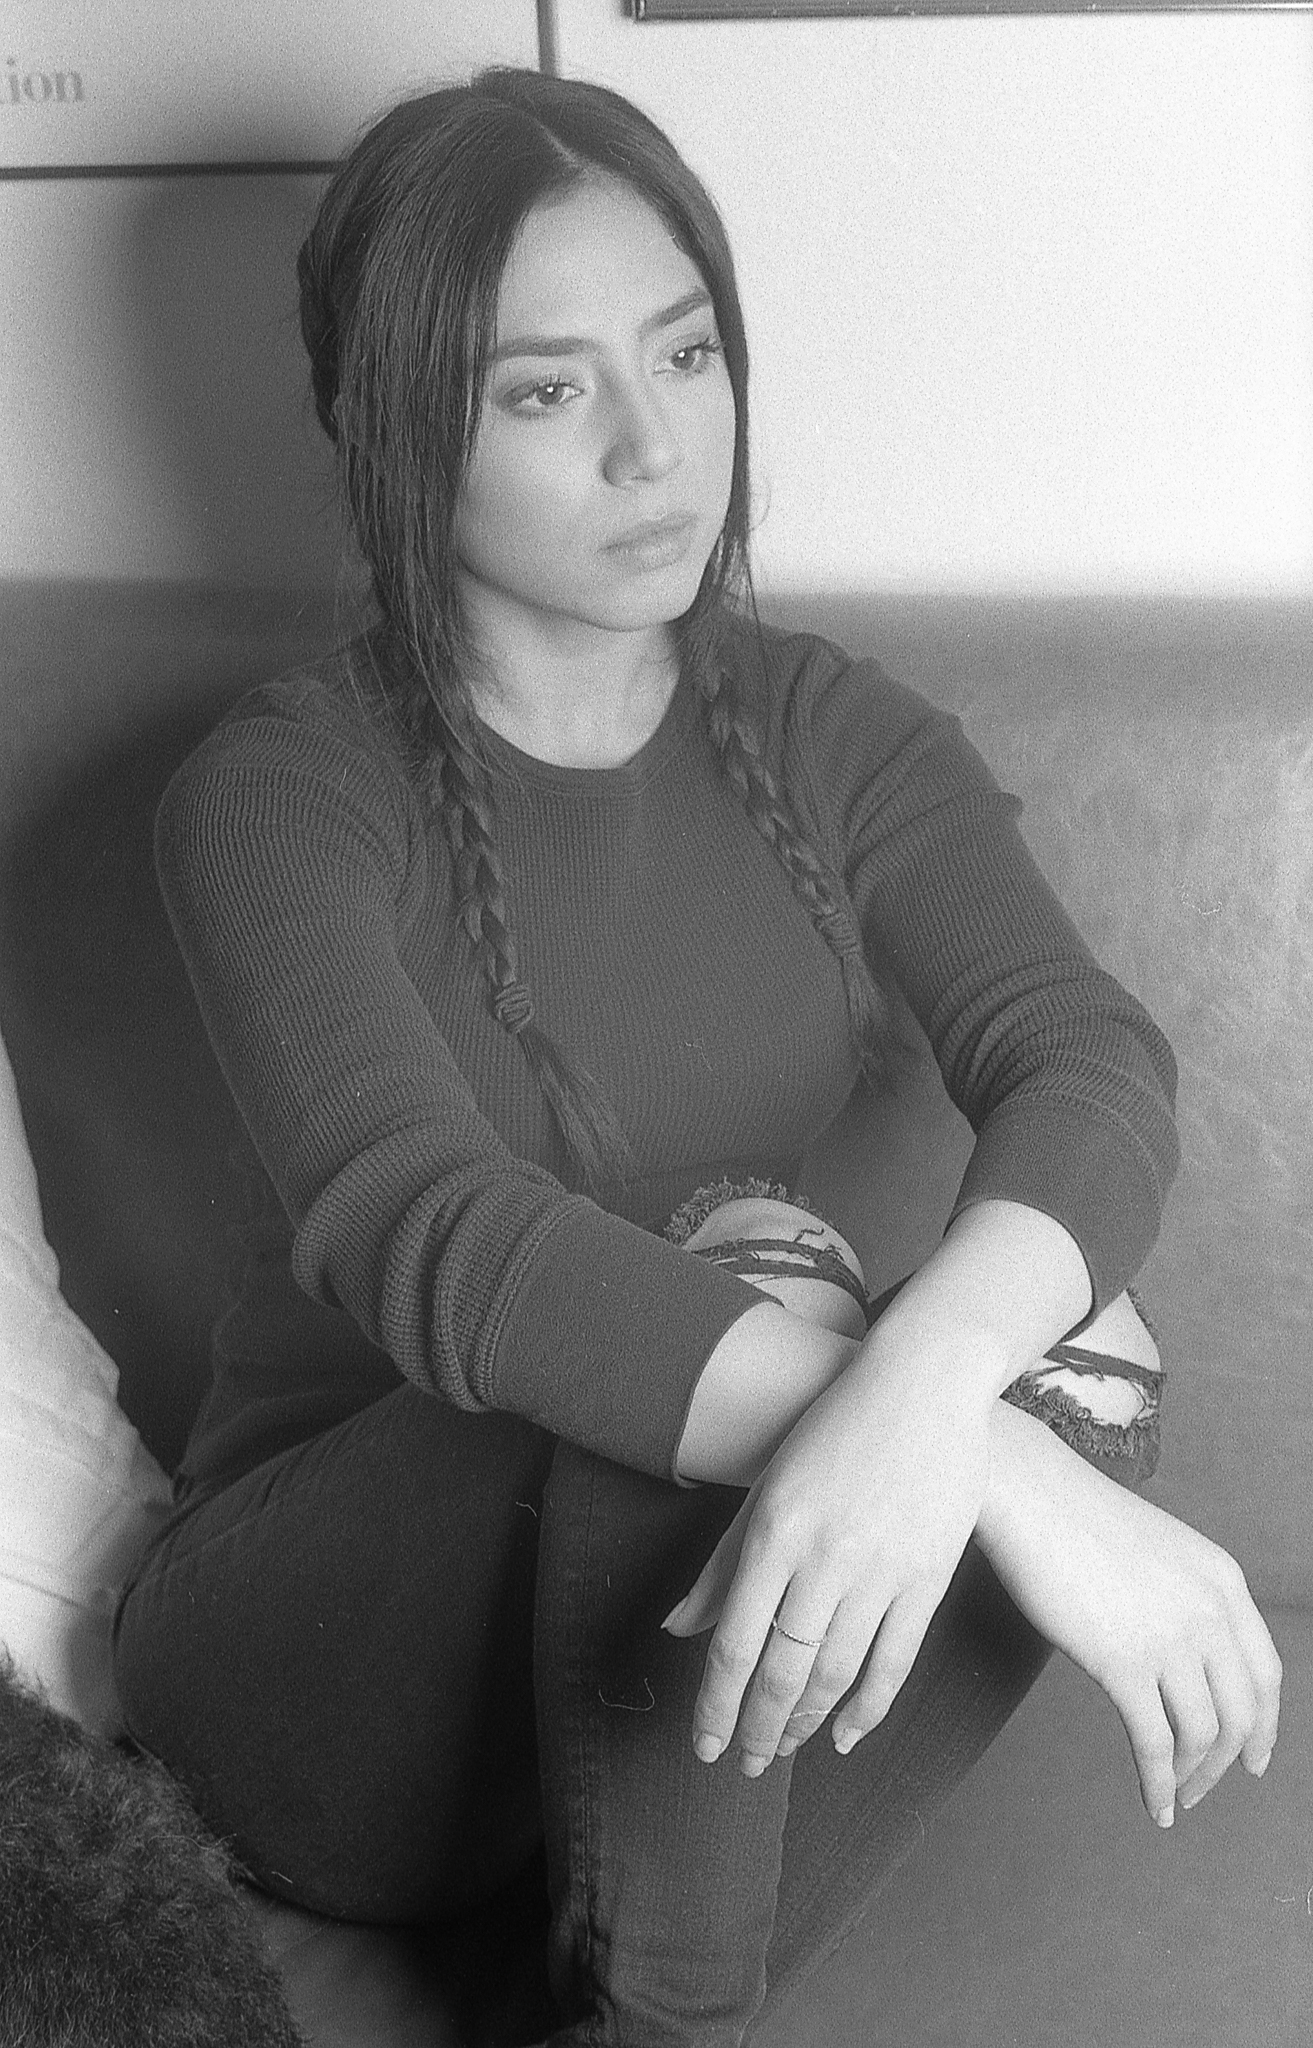
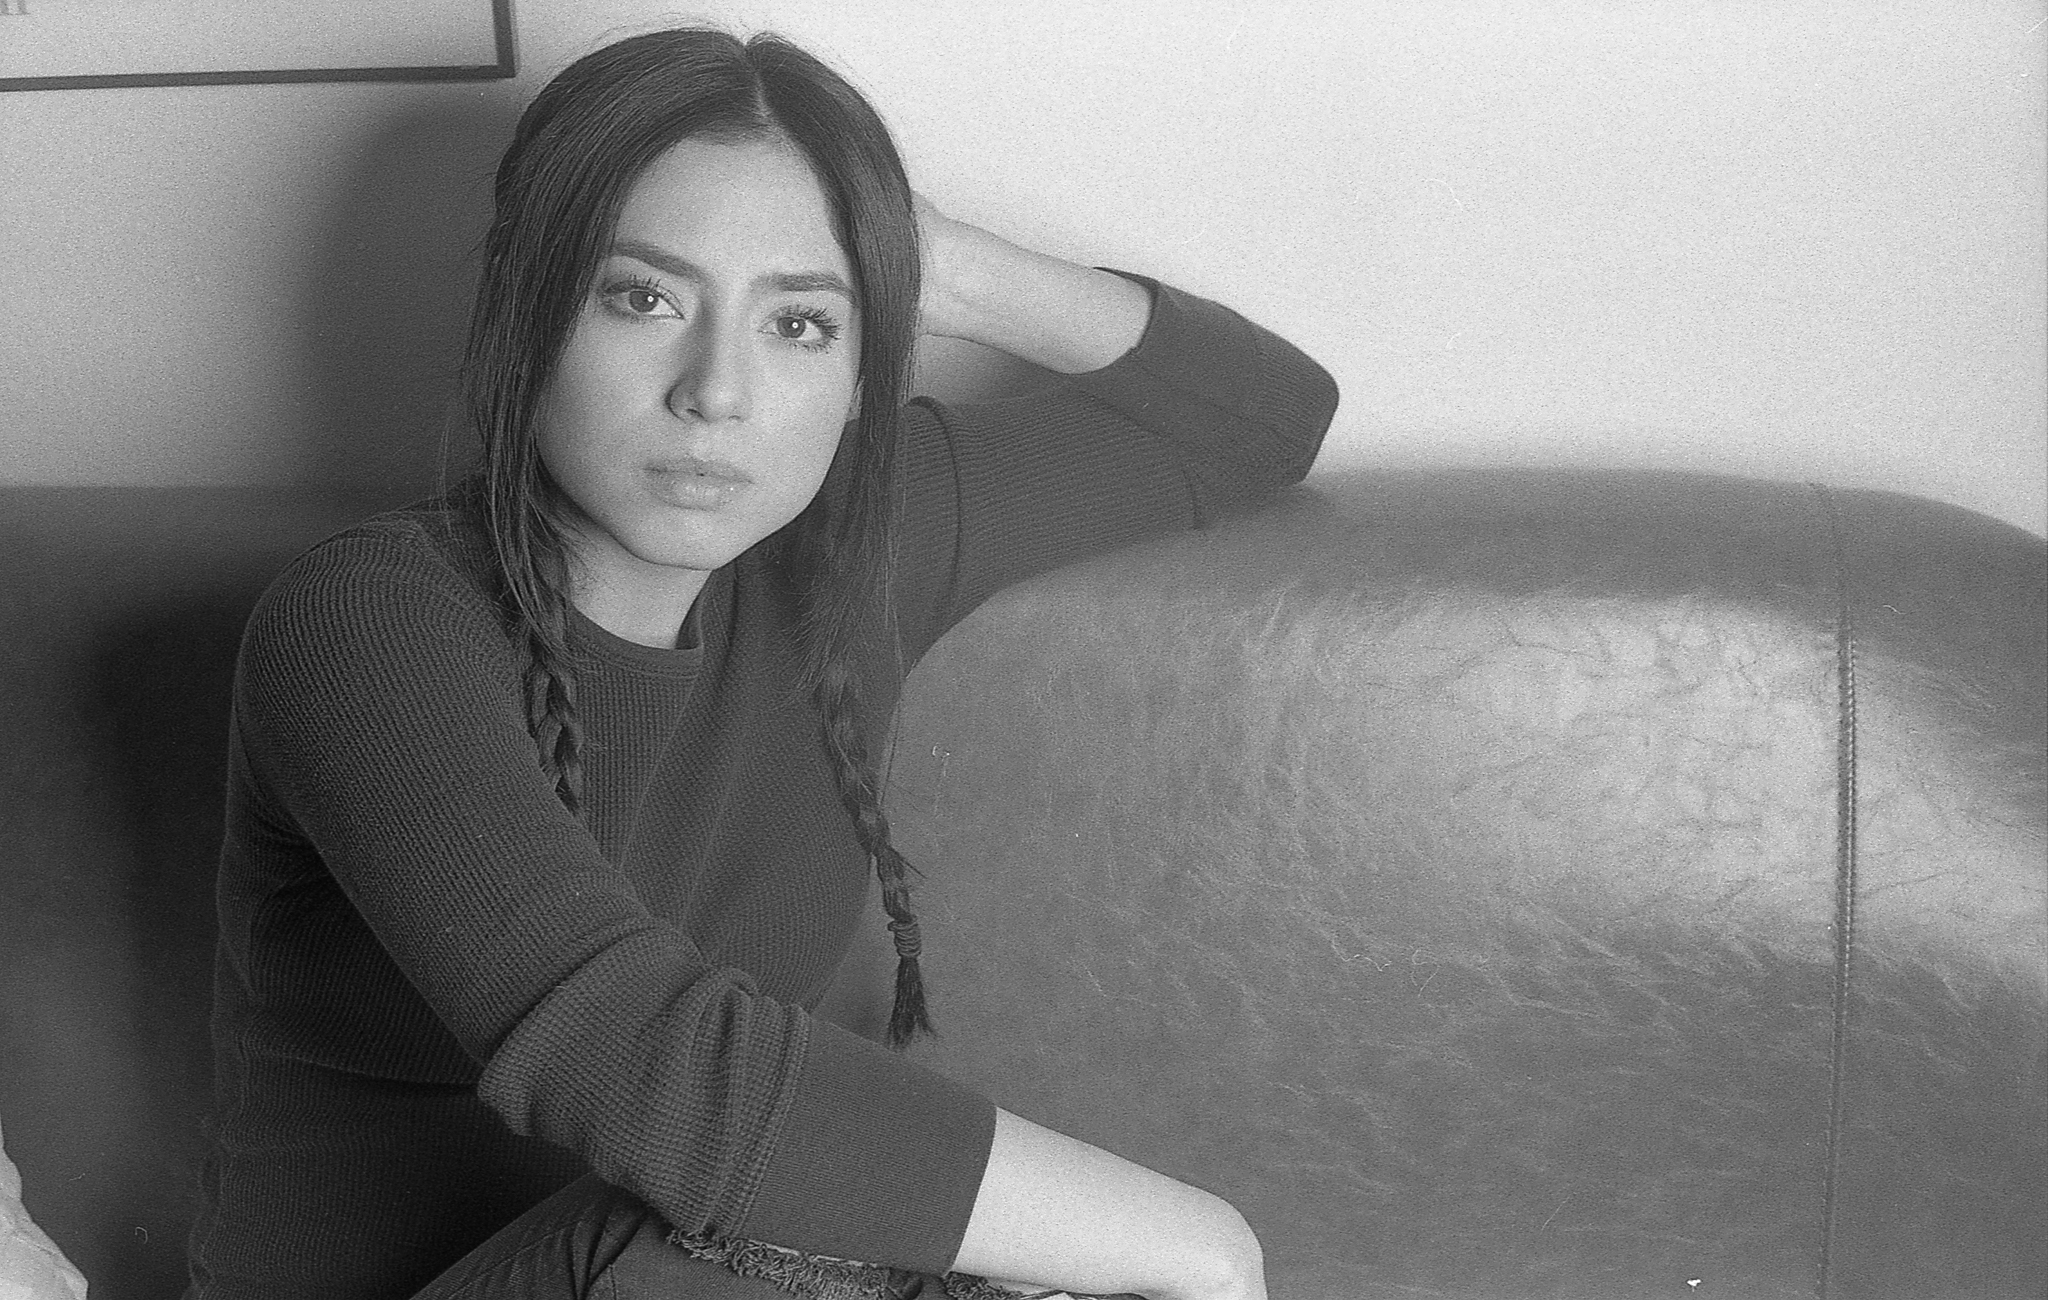
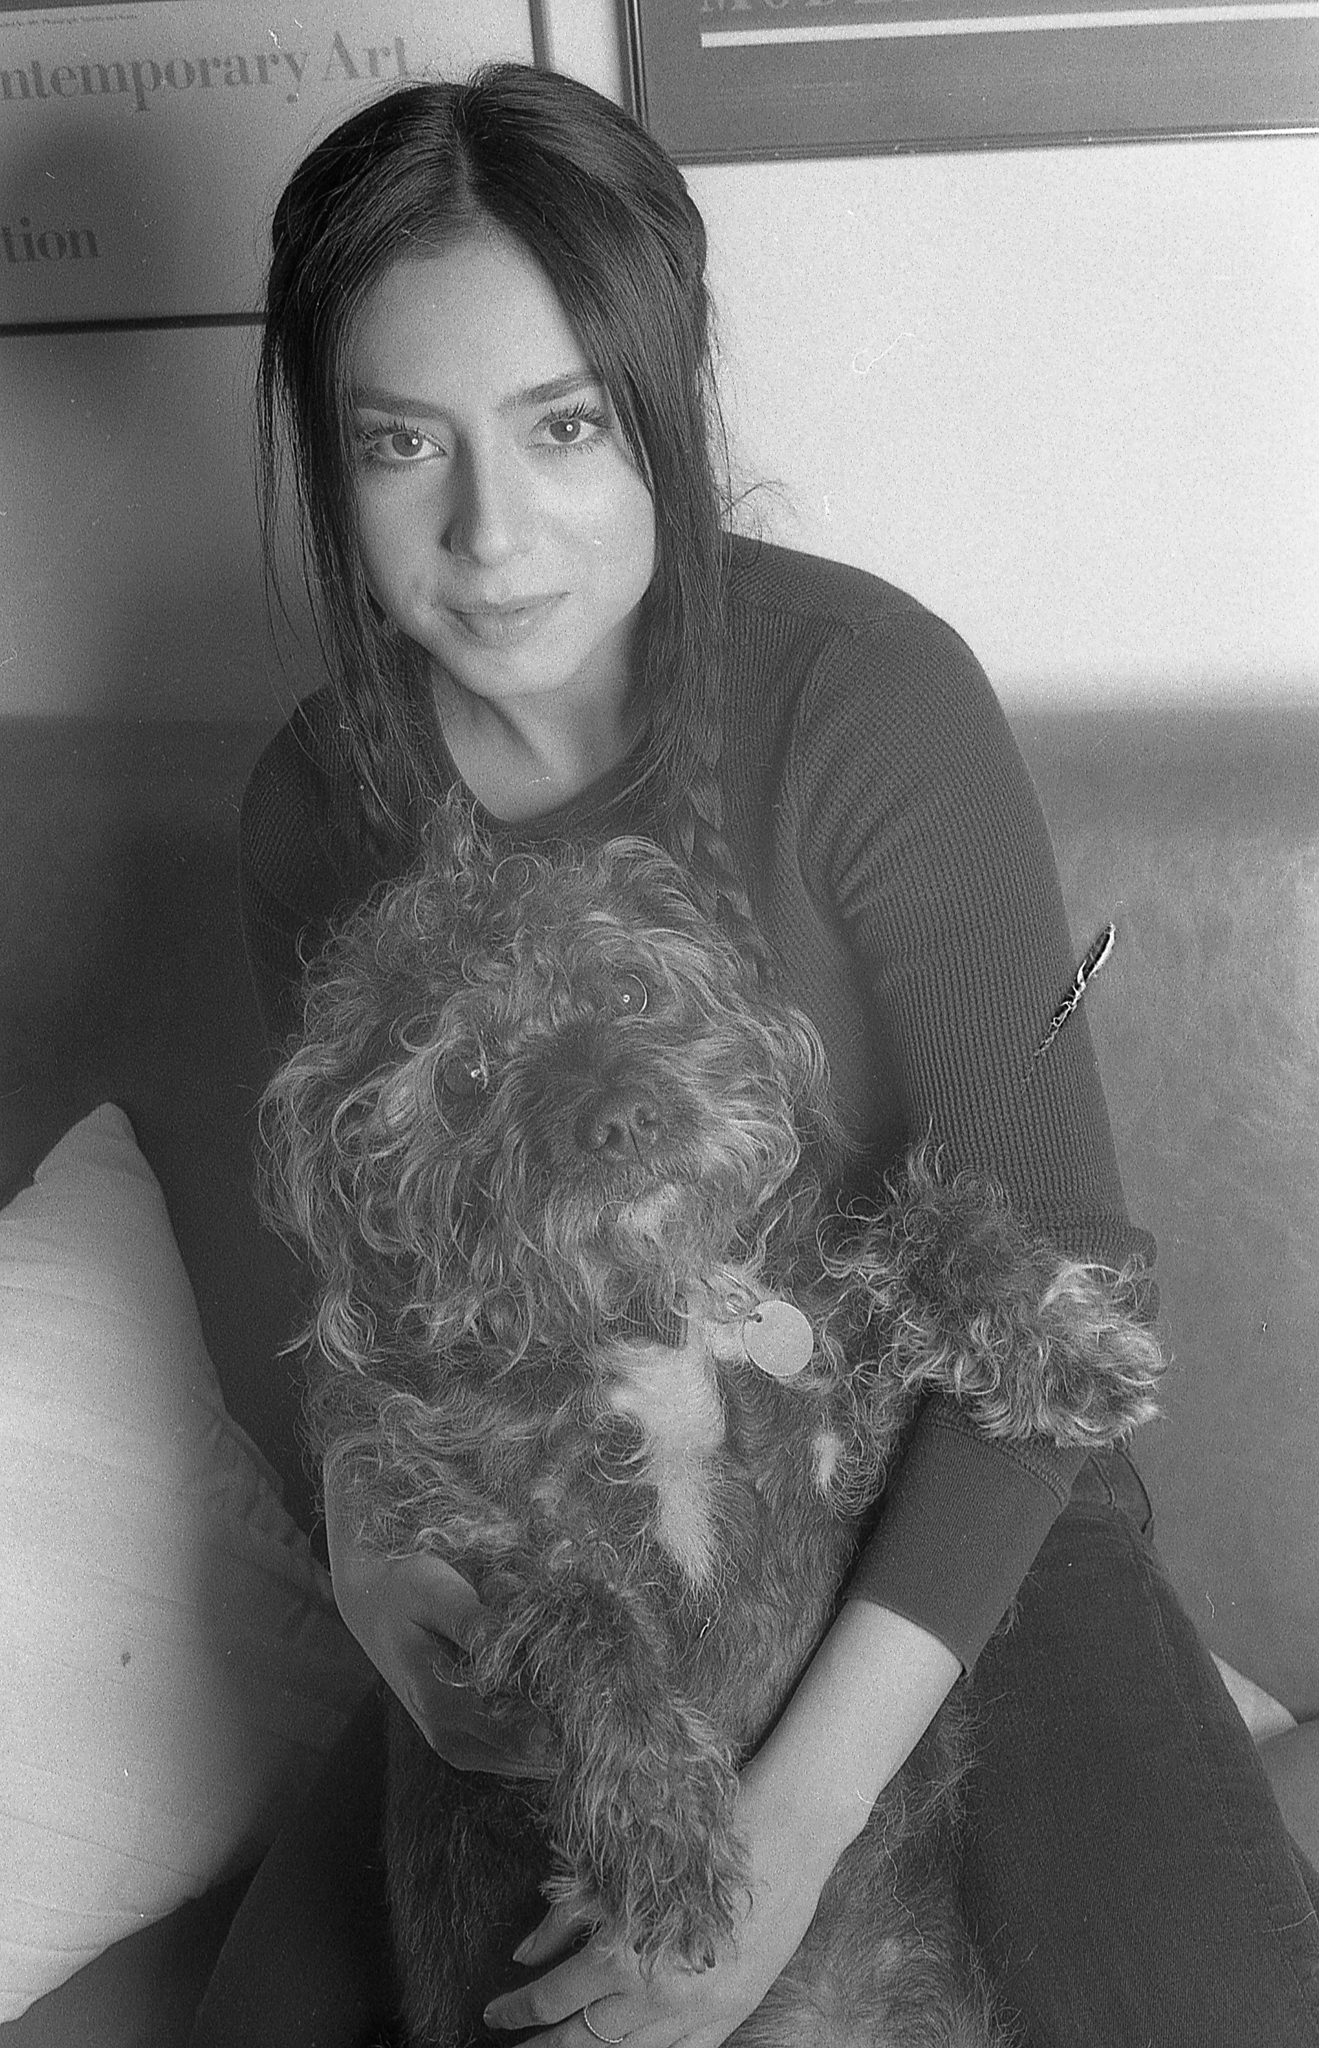

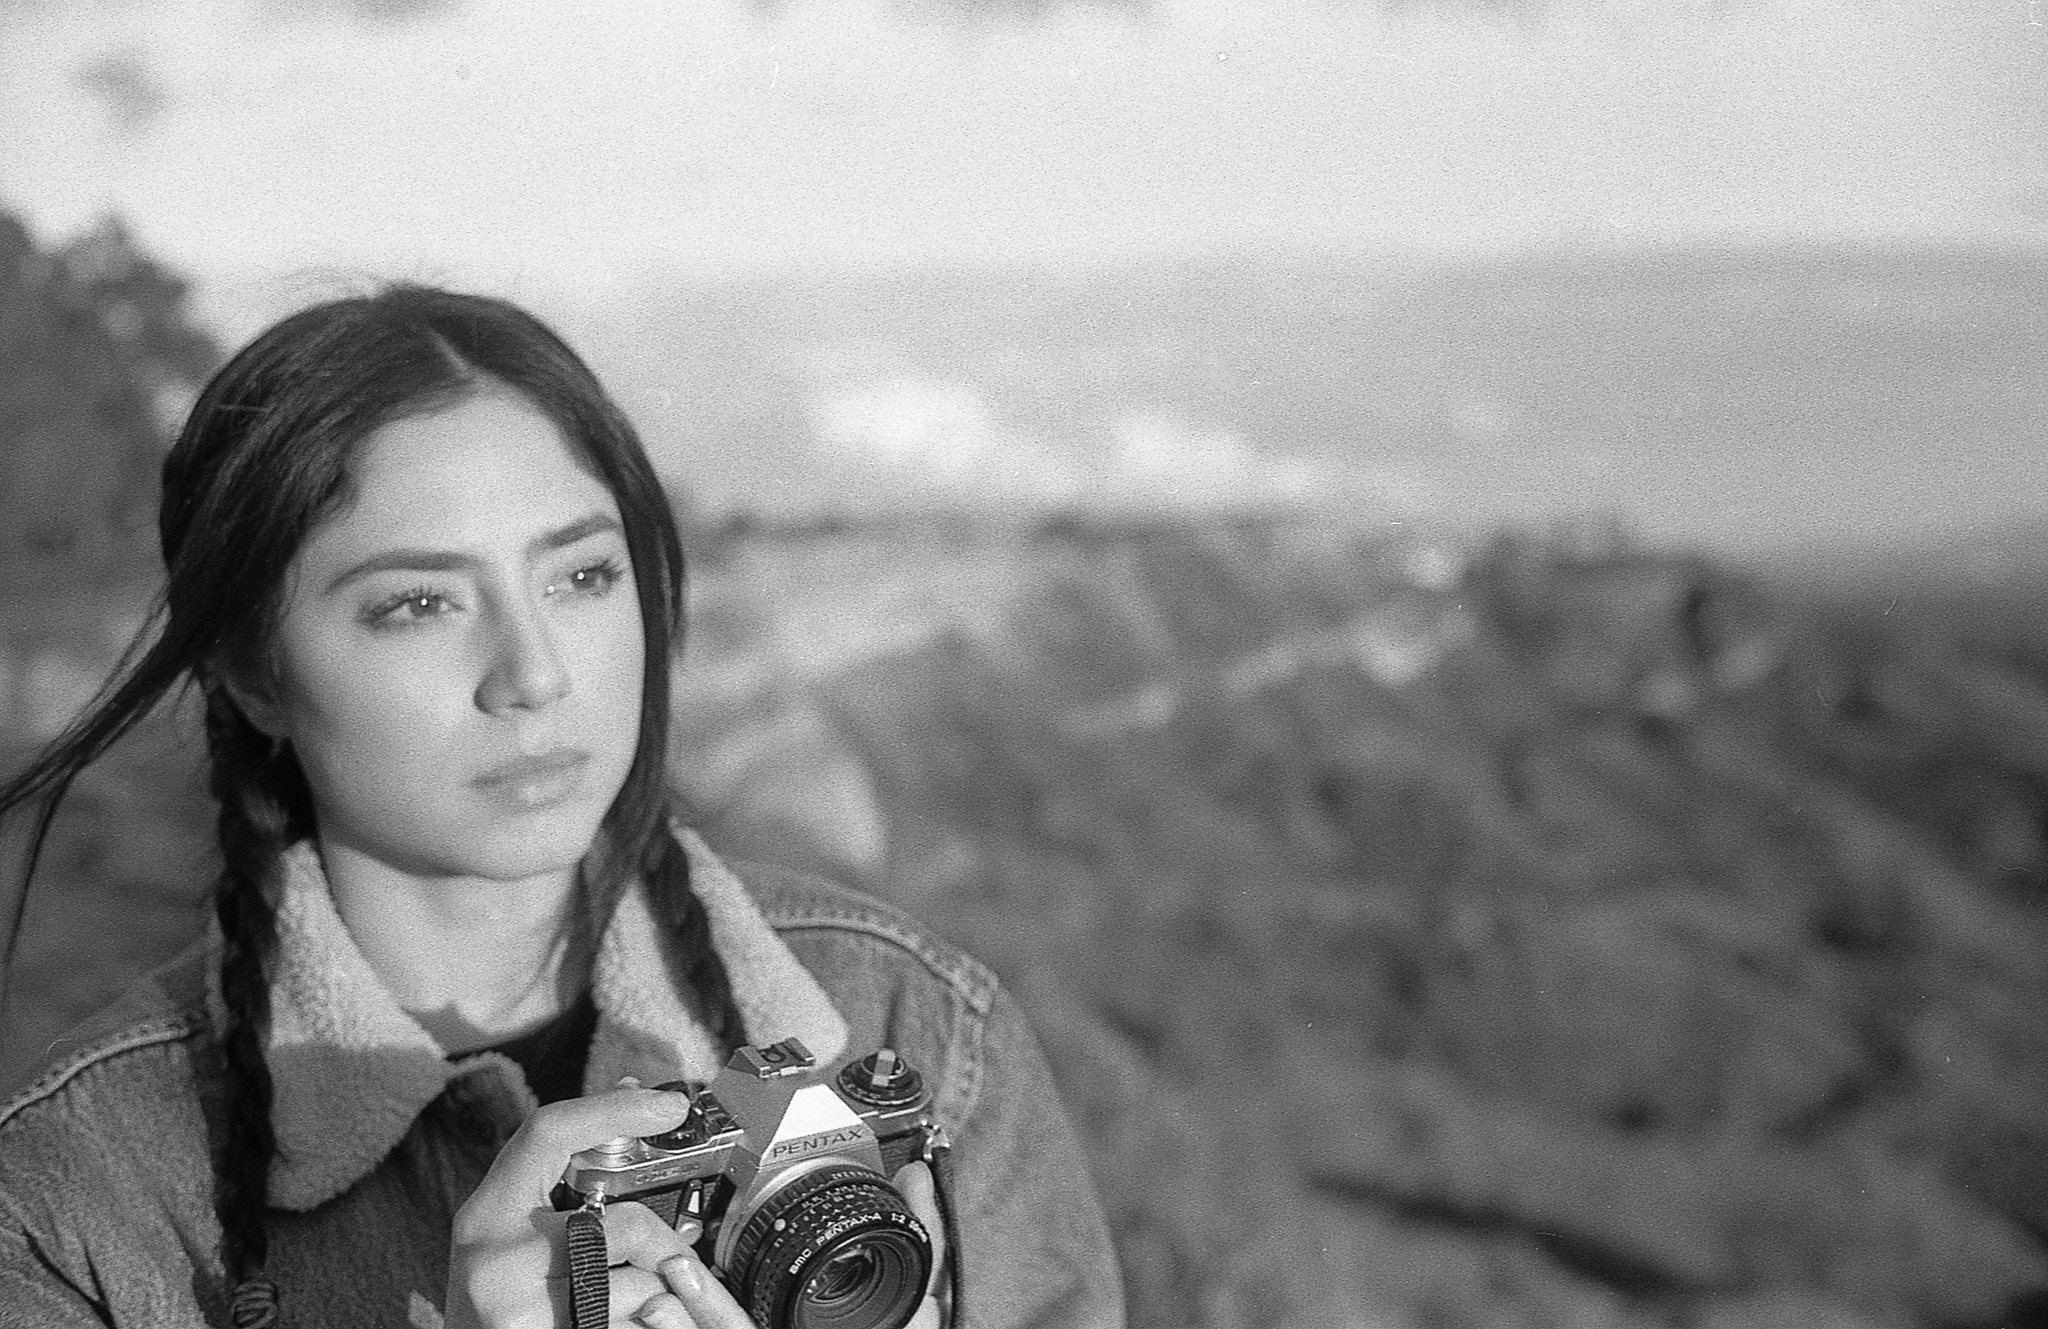
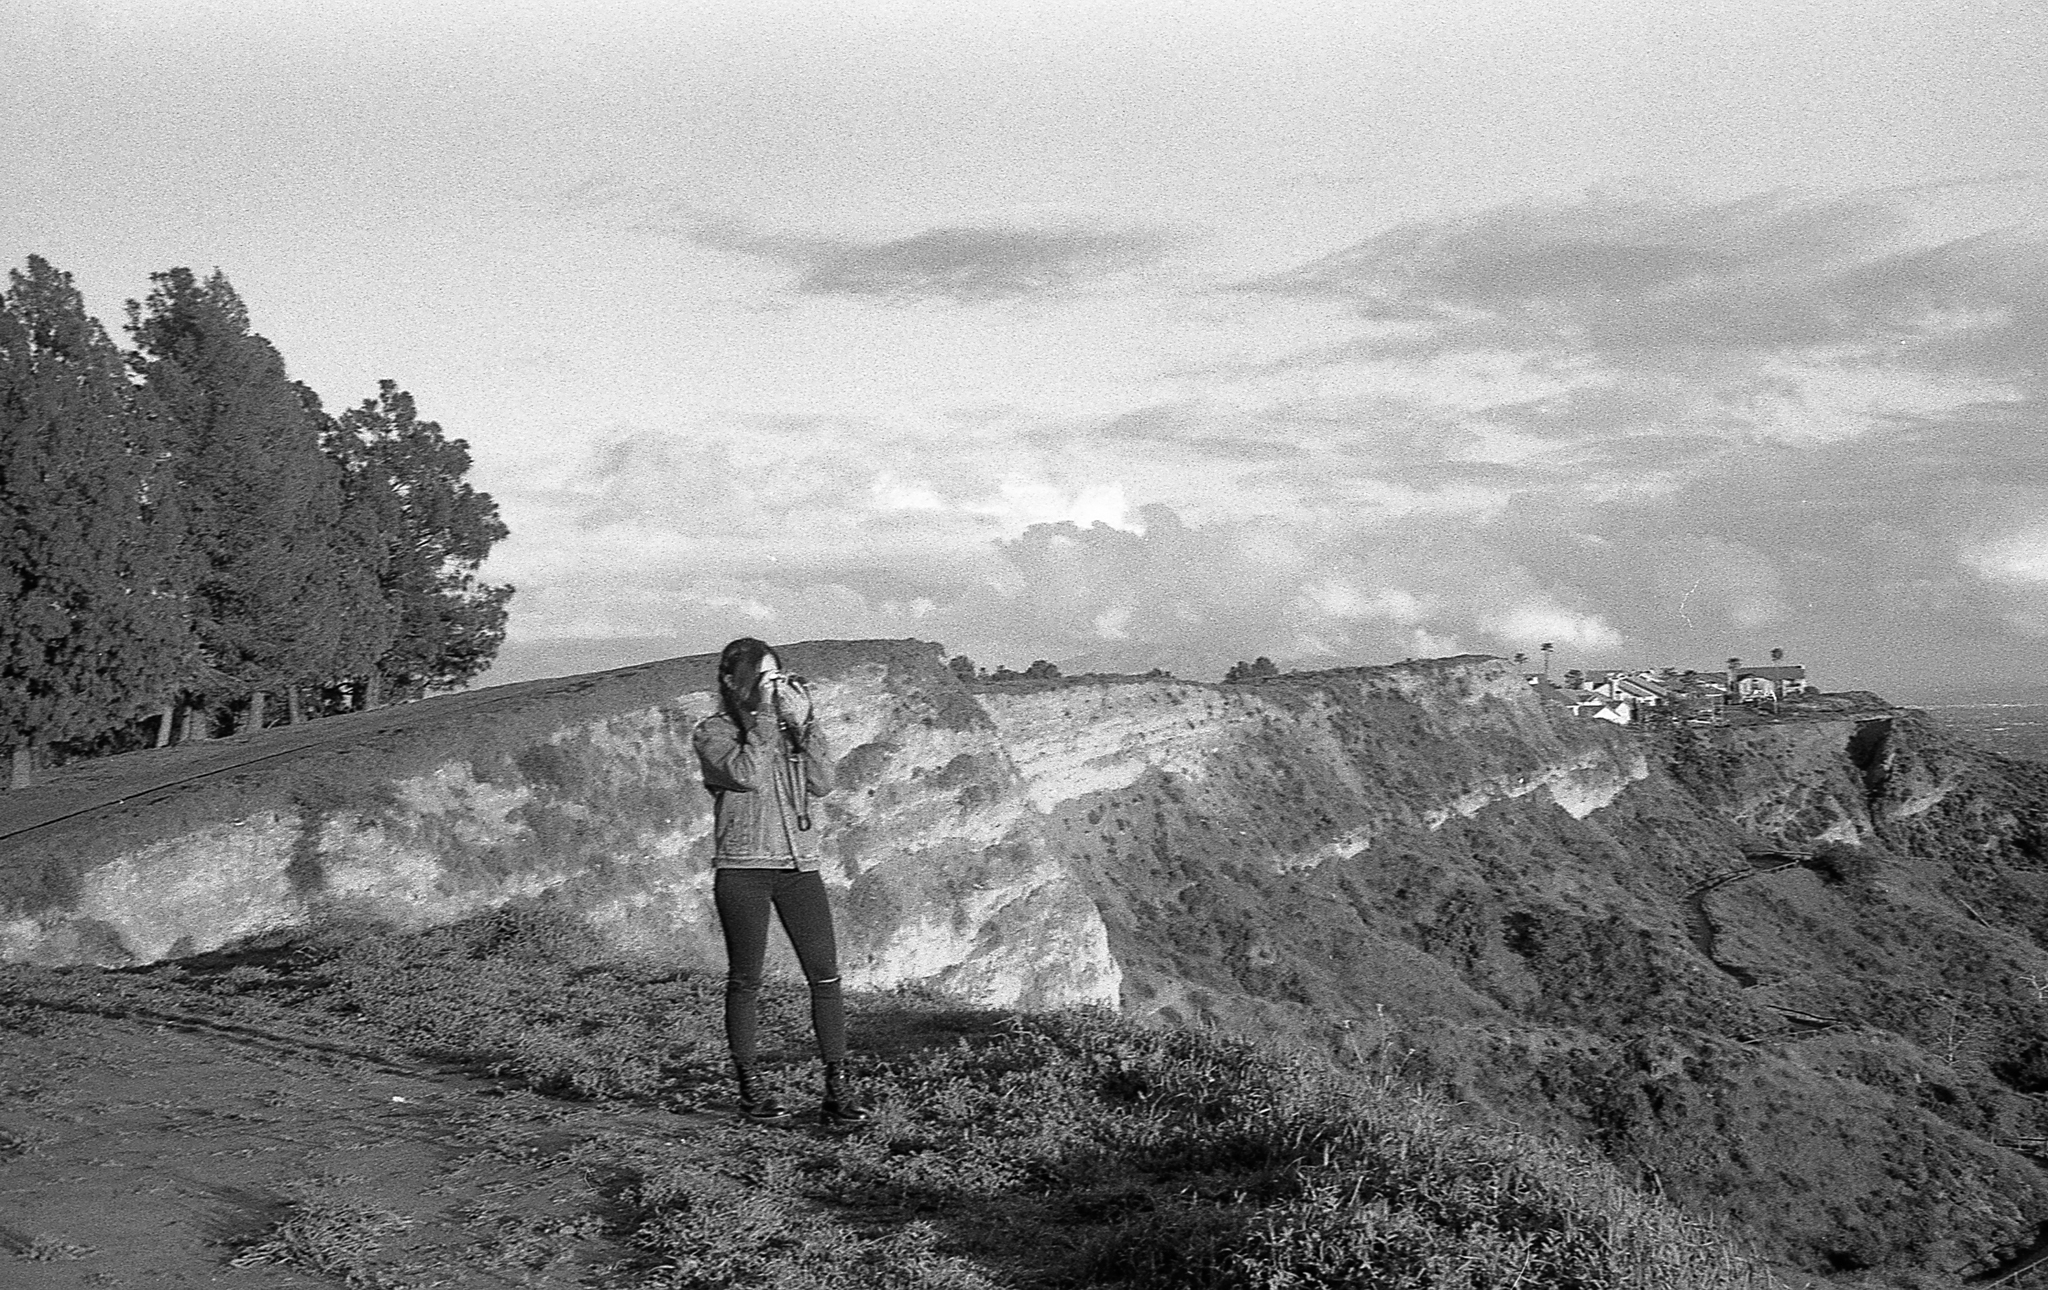
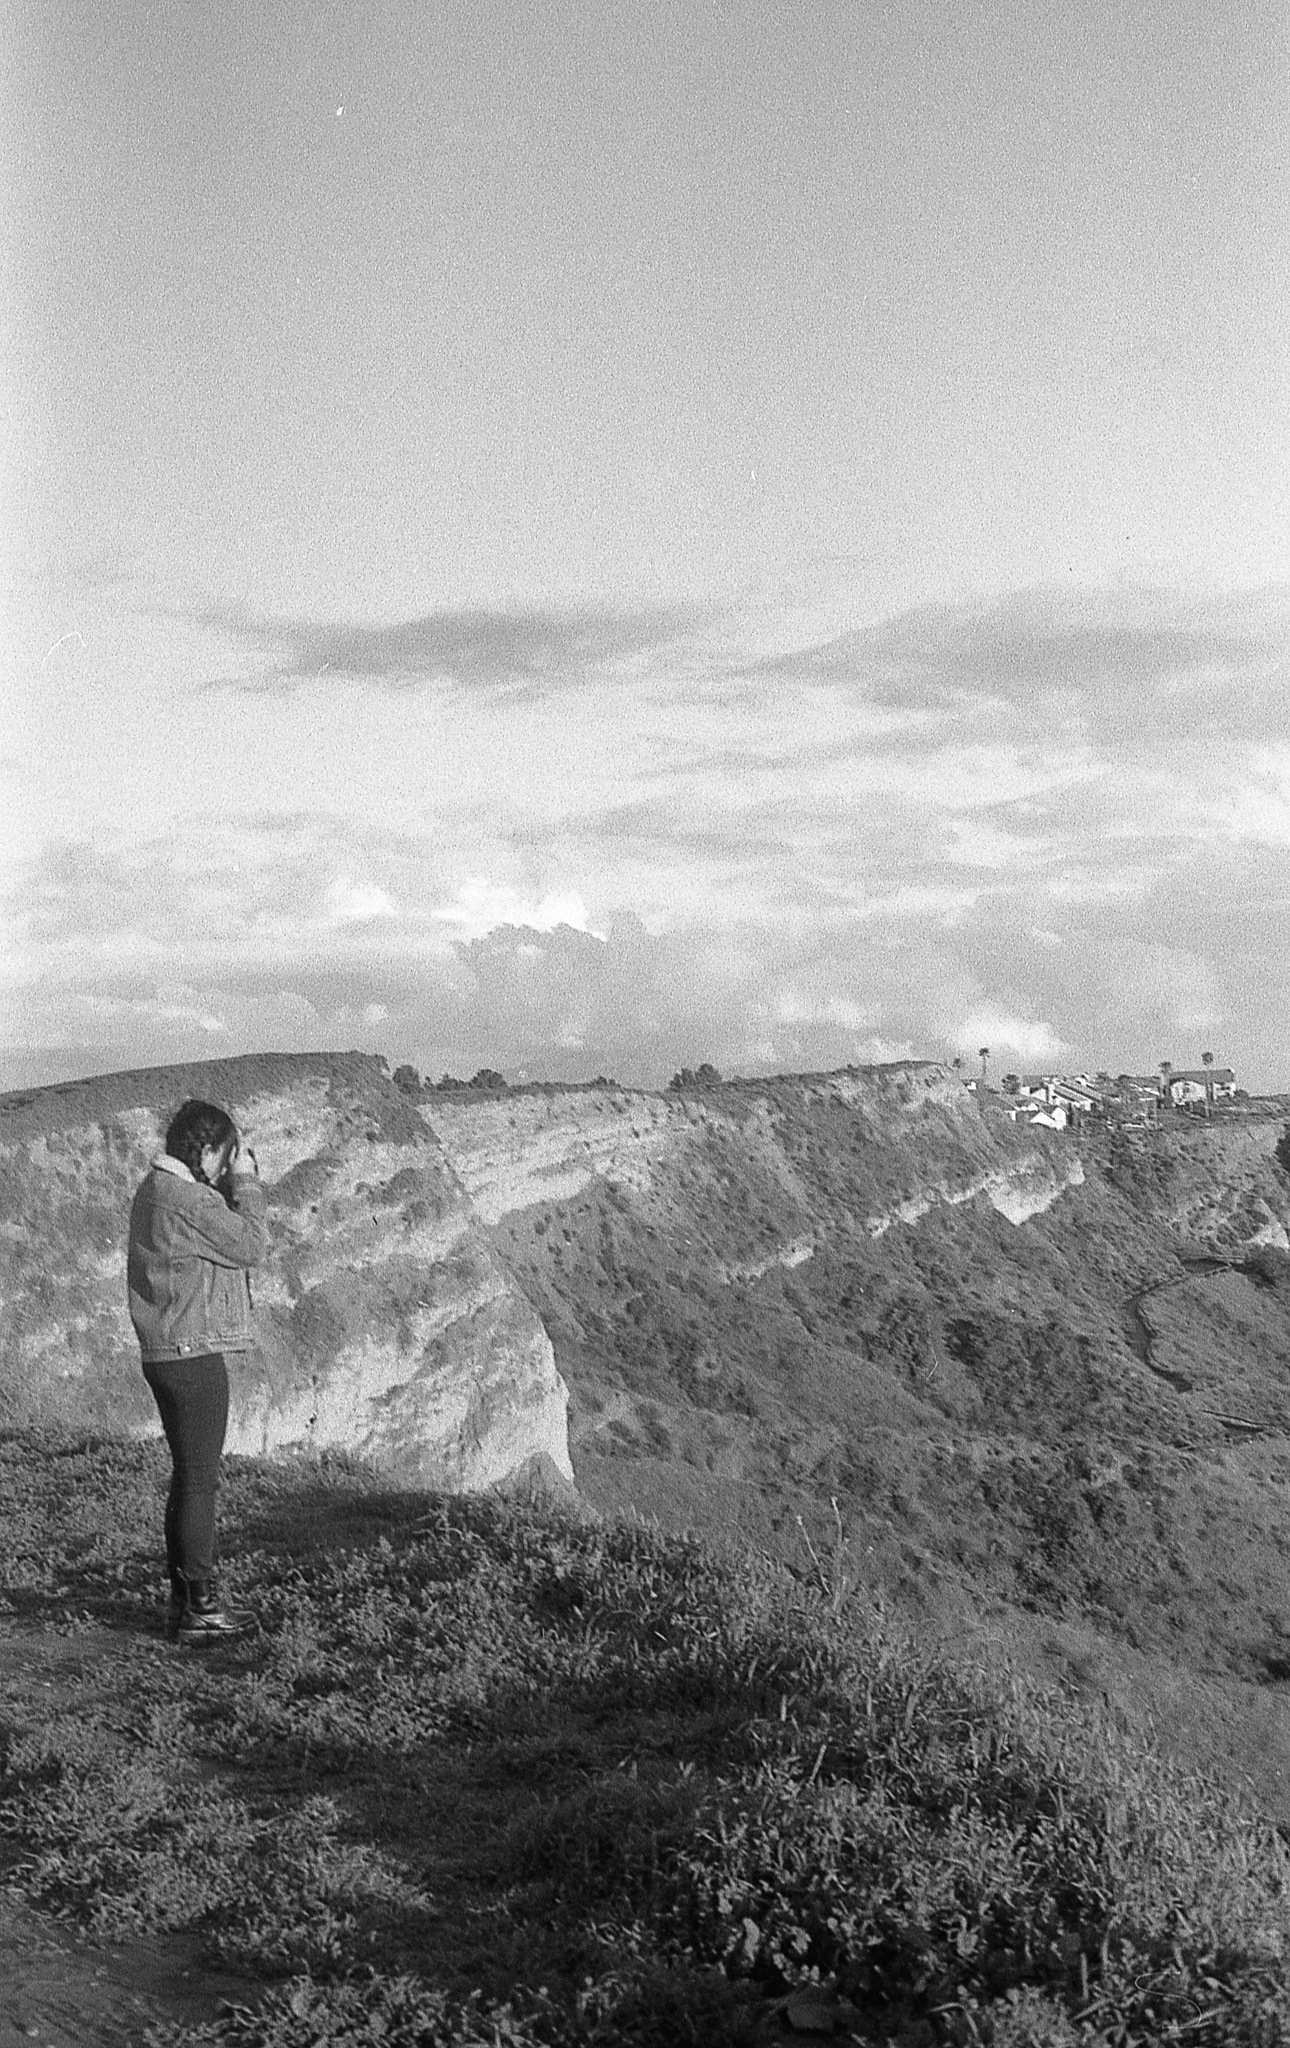
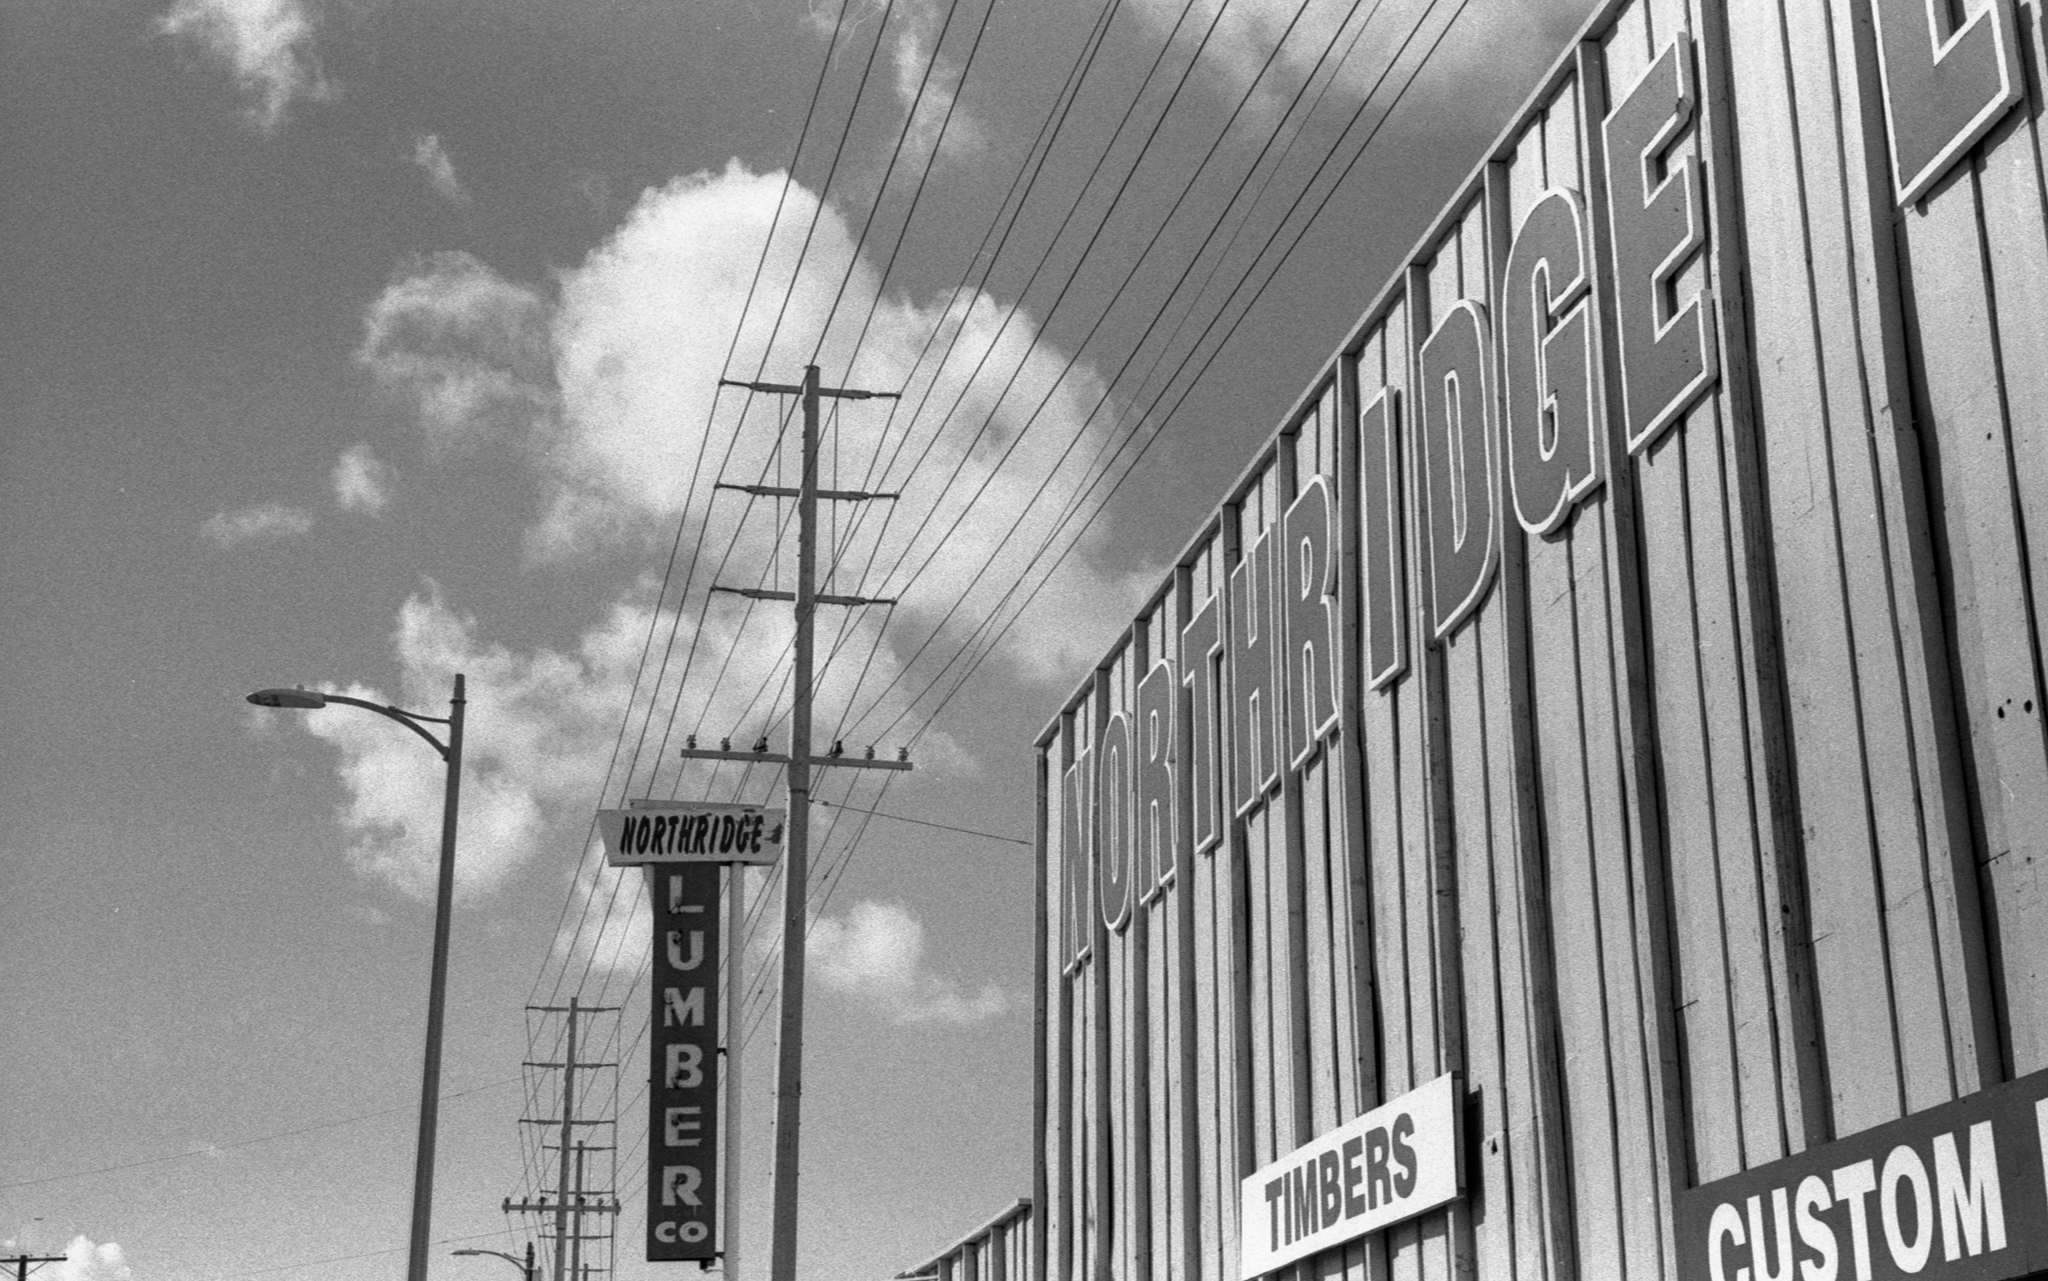


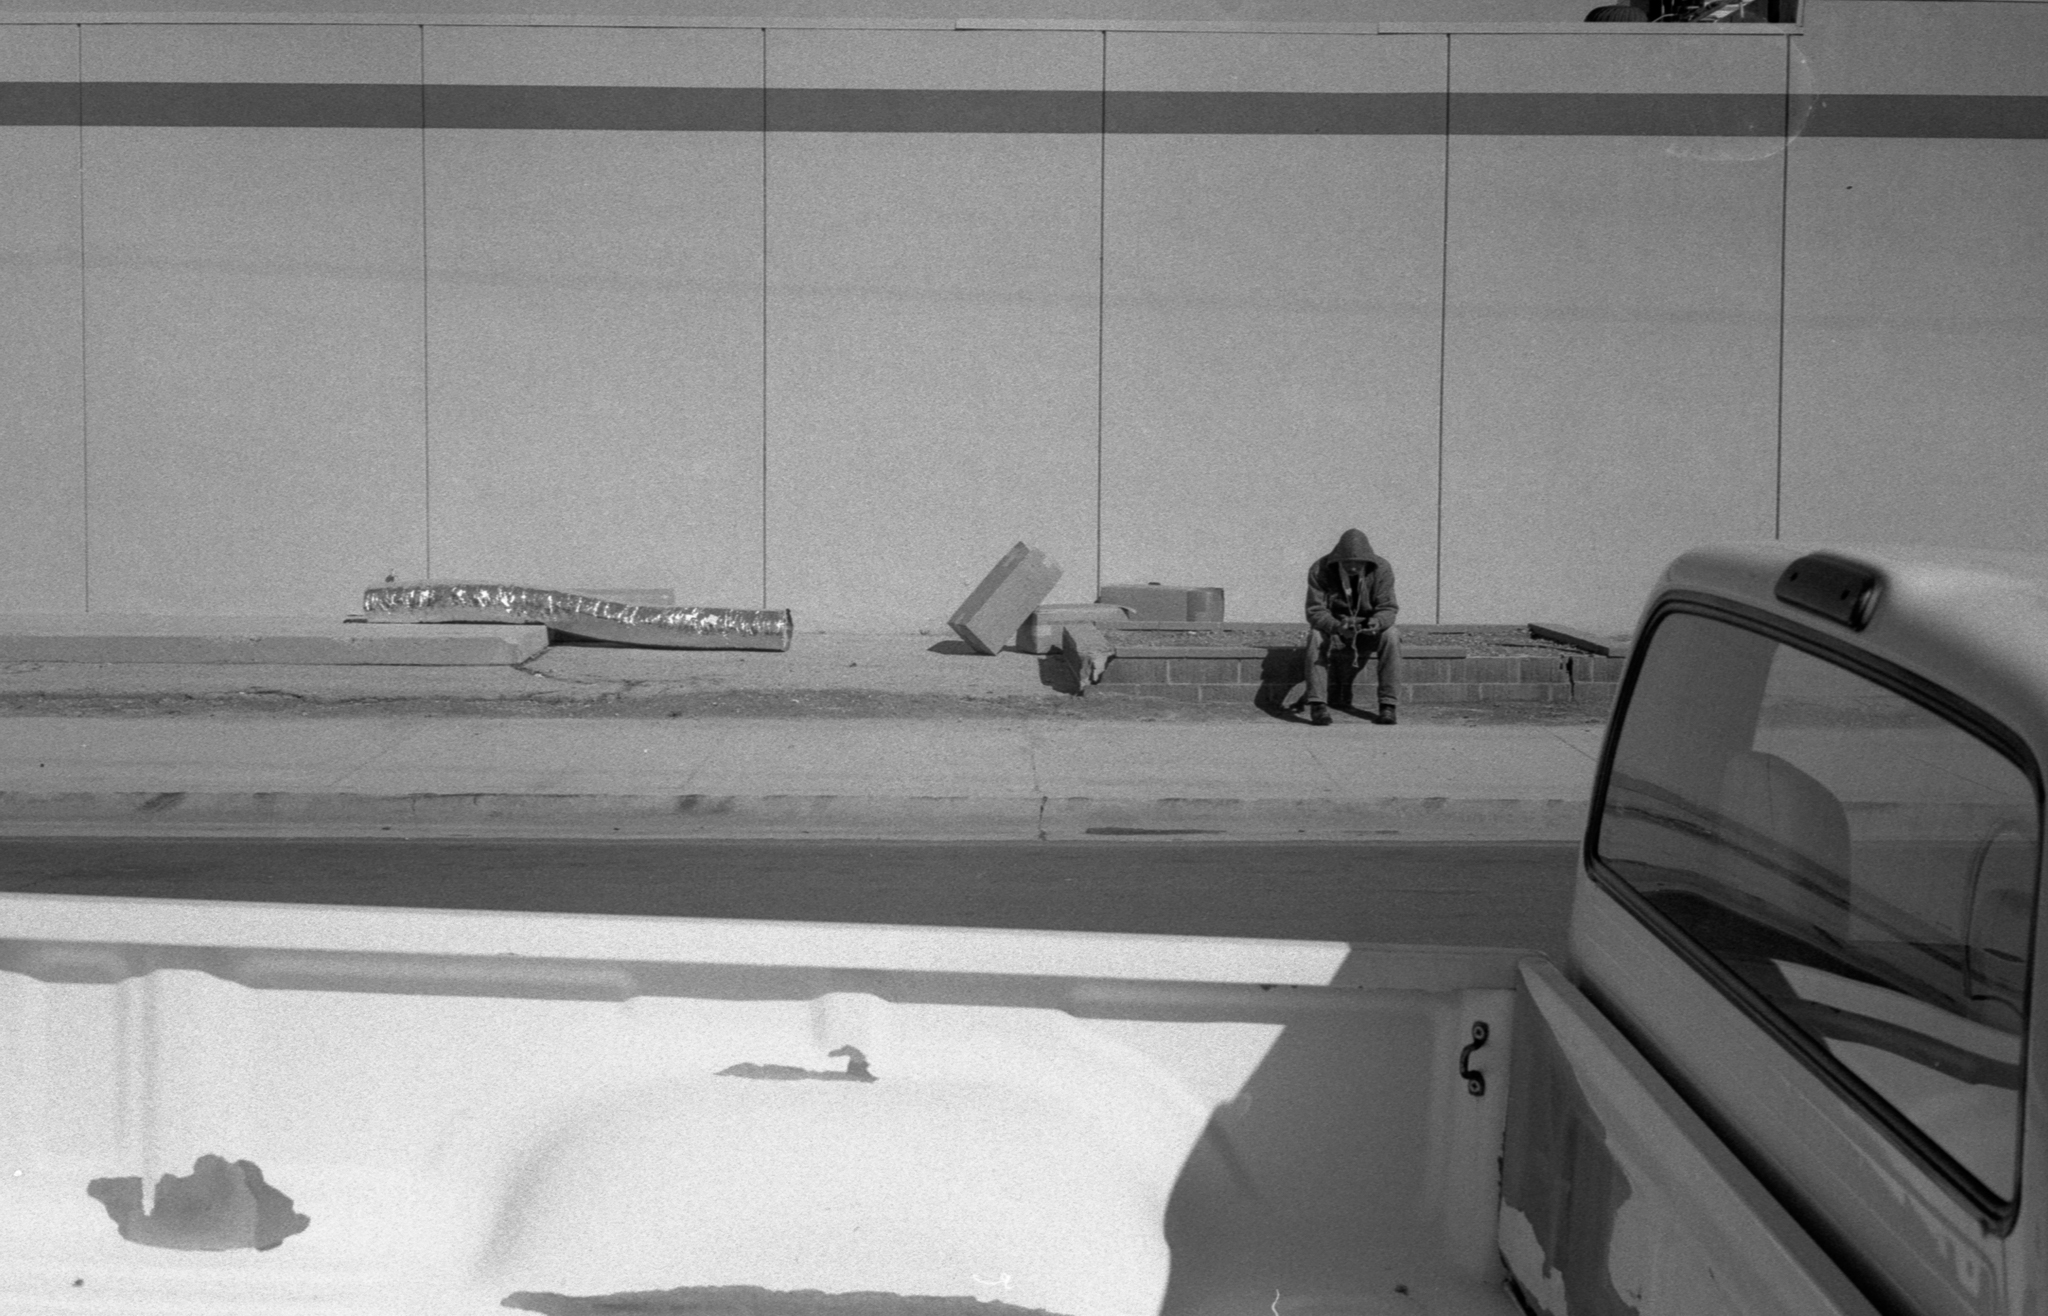
Los Angeles Birthday Party Photographer at Kidville Brentwood

Birthday Party Photography at Kidville
Here are just a few images from a recent birthday party I photographed at Kidville in Brentwood.
As always, my core belief when it comes to photographing events of any type is that capturing emotion filled candids should always be a photographers focus. Being able to provide shots like these is what I value above anything else.
As a kids birthday party photographer, this is especially important. I want to create photographs you will cherish for a lifetime.


If you are looking for a birthday party photographer in Los Angeles, please get in touch. As always, my focus is on creating outstanding images that truly capture something rather than stale, boring images about nothing :)
I offer competitive rates for smaller events like kids birthday parties, so don’t hesitate to reach out! Unlike other photographers, I do not offer packages. Rather, all of the images edited and in high resolution are included in my hourly rate.
info@mikmilman.com
(818) 275-1645
Los Angeles Event Photography